

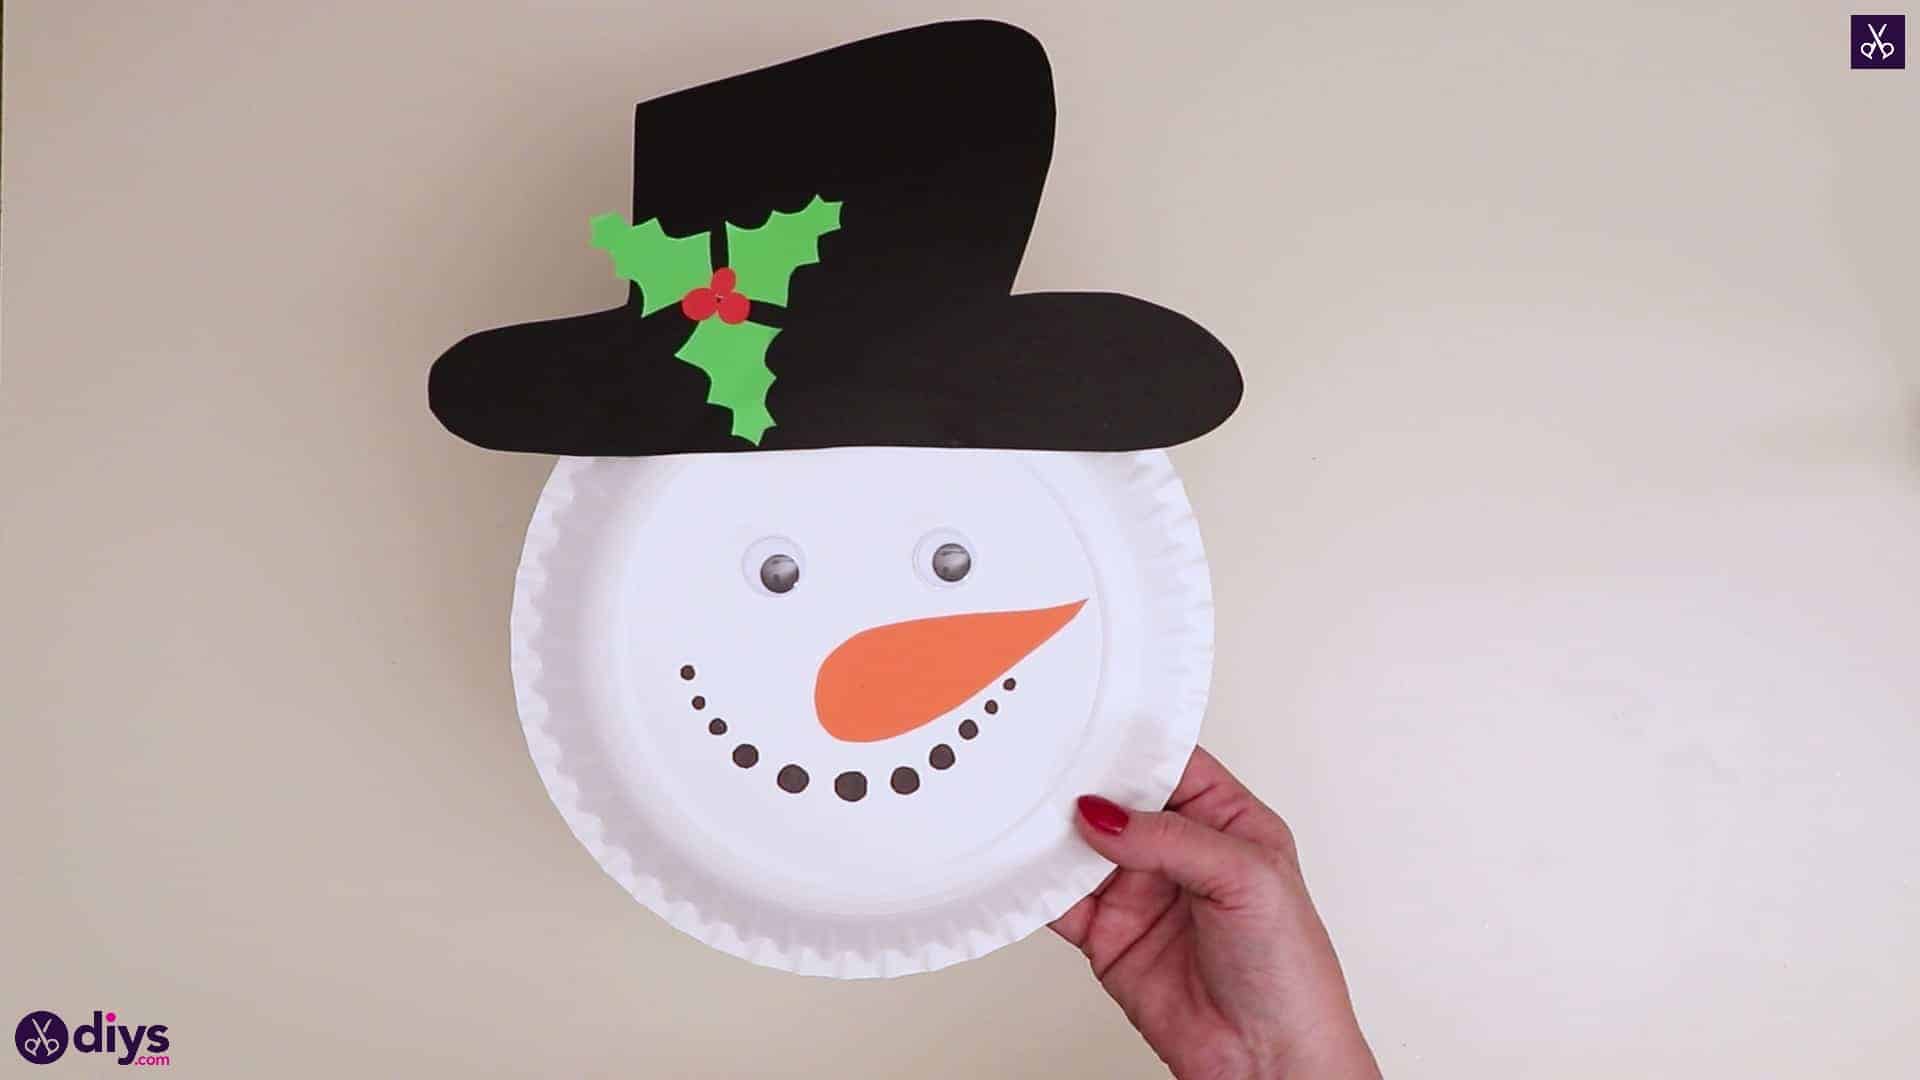
If Im being totally honest with you, I actually enjoy crafting with paper plates just about as much as my kids do. I think thats partially because these were the very first kind of craft they felt confident making themselves without my help, so I got to just play along and make one of my very own alongside them! Ive been crafting with them freely during creative paper plate sessions of my own choice ever since. Recently, my kids invented these adorable paper plate snowmen and they were so cute that I justhad to document the process of making one and share it for all to see, especially since Christmas is fast approaching, making these little guys right on theme.
Check out these step by step instructions complete with photos! If youd rather follow along with a video tutorial instead of written words, scroll to the bottom of this post to find just what youre looking for.
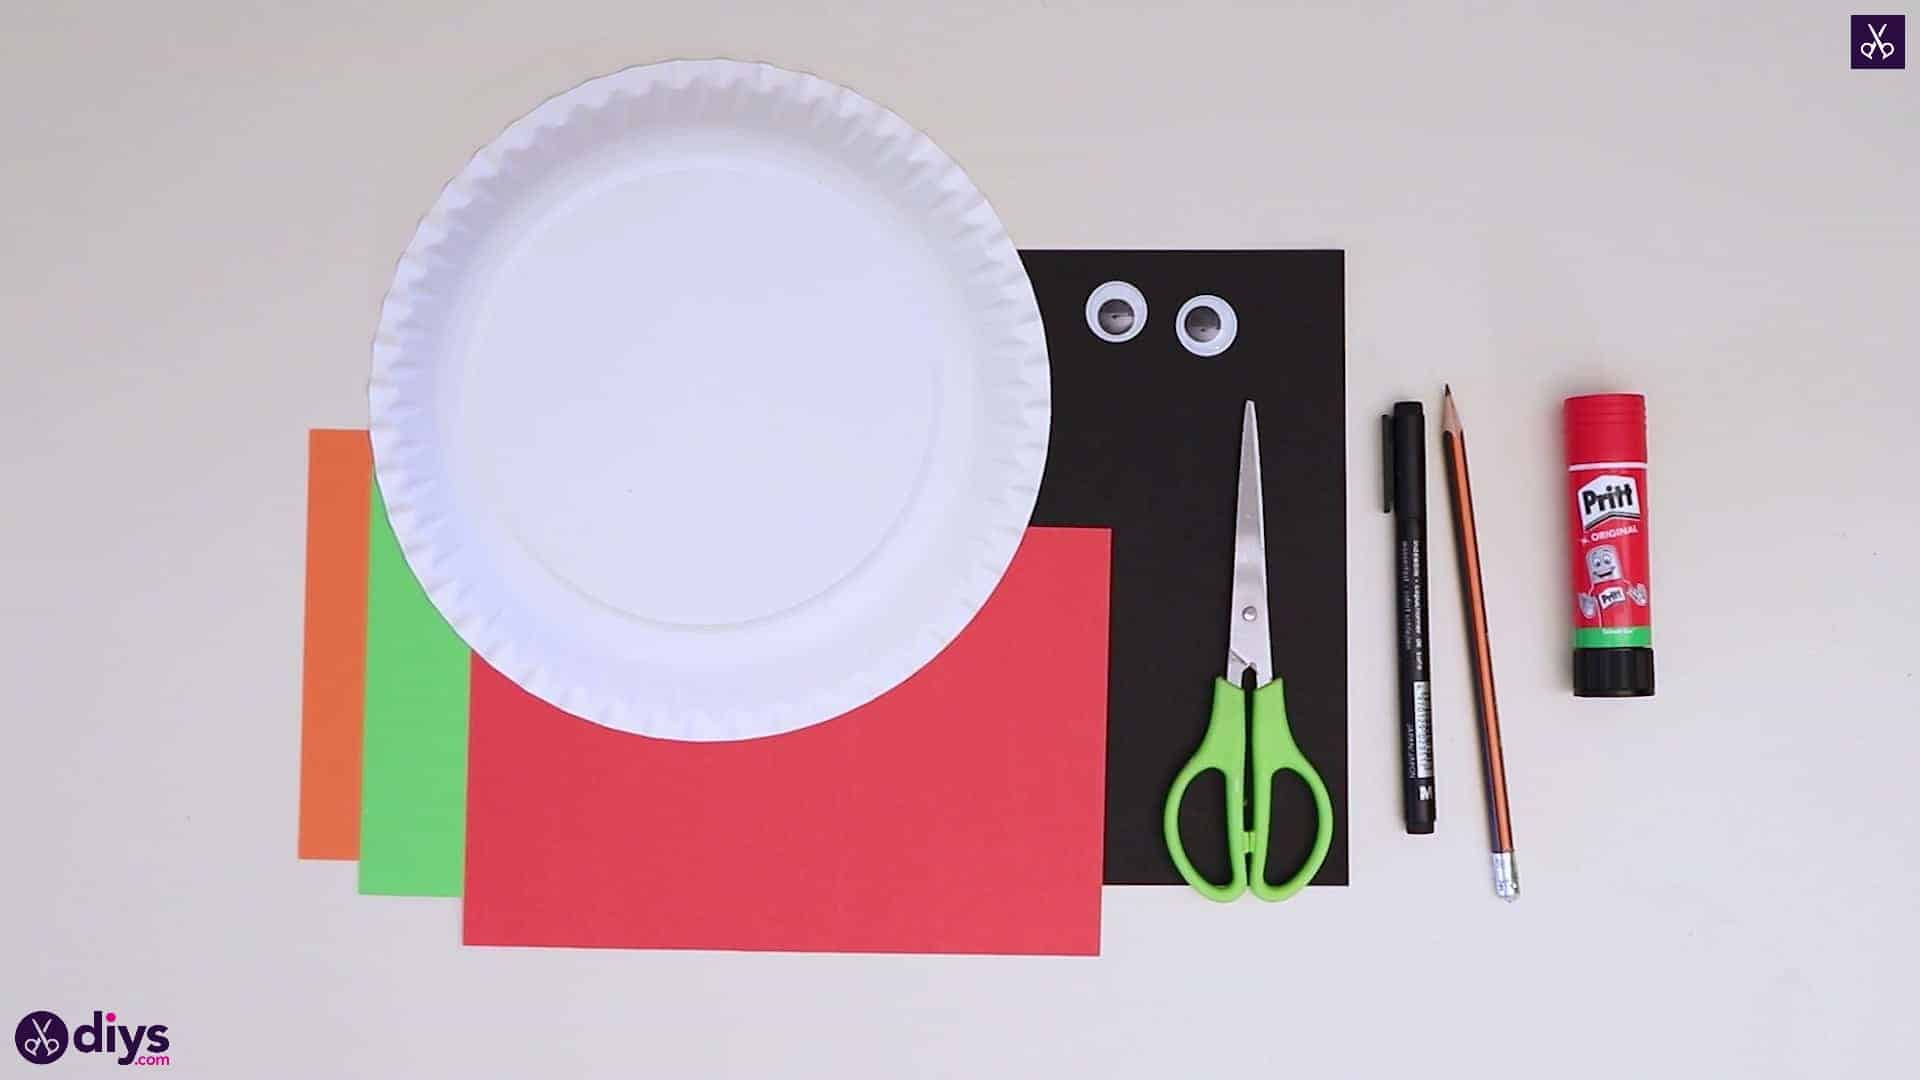
For this project, youll need:
- Paper (orange, red, and green)
- A pencil
- A black marker
- Scissoes
- A glue stick
- Two googly eyes
Step 1:
Gather your materials!
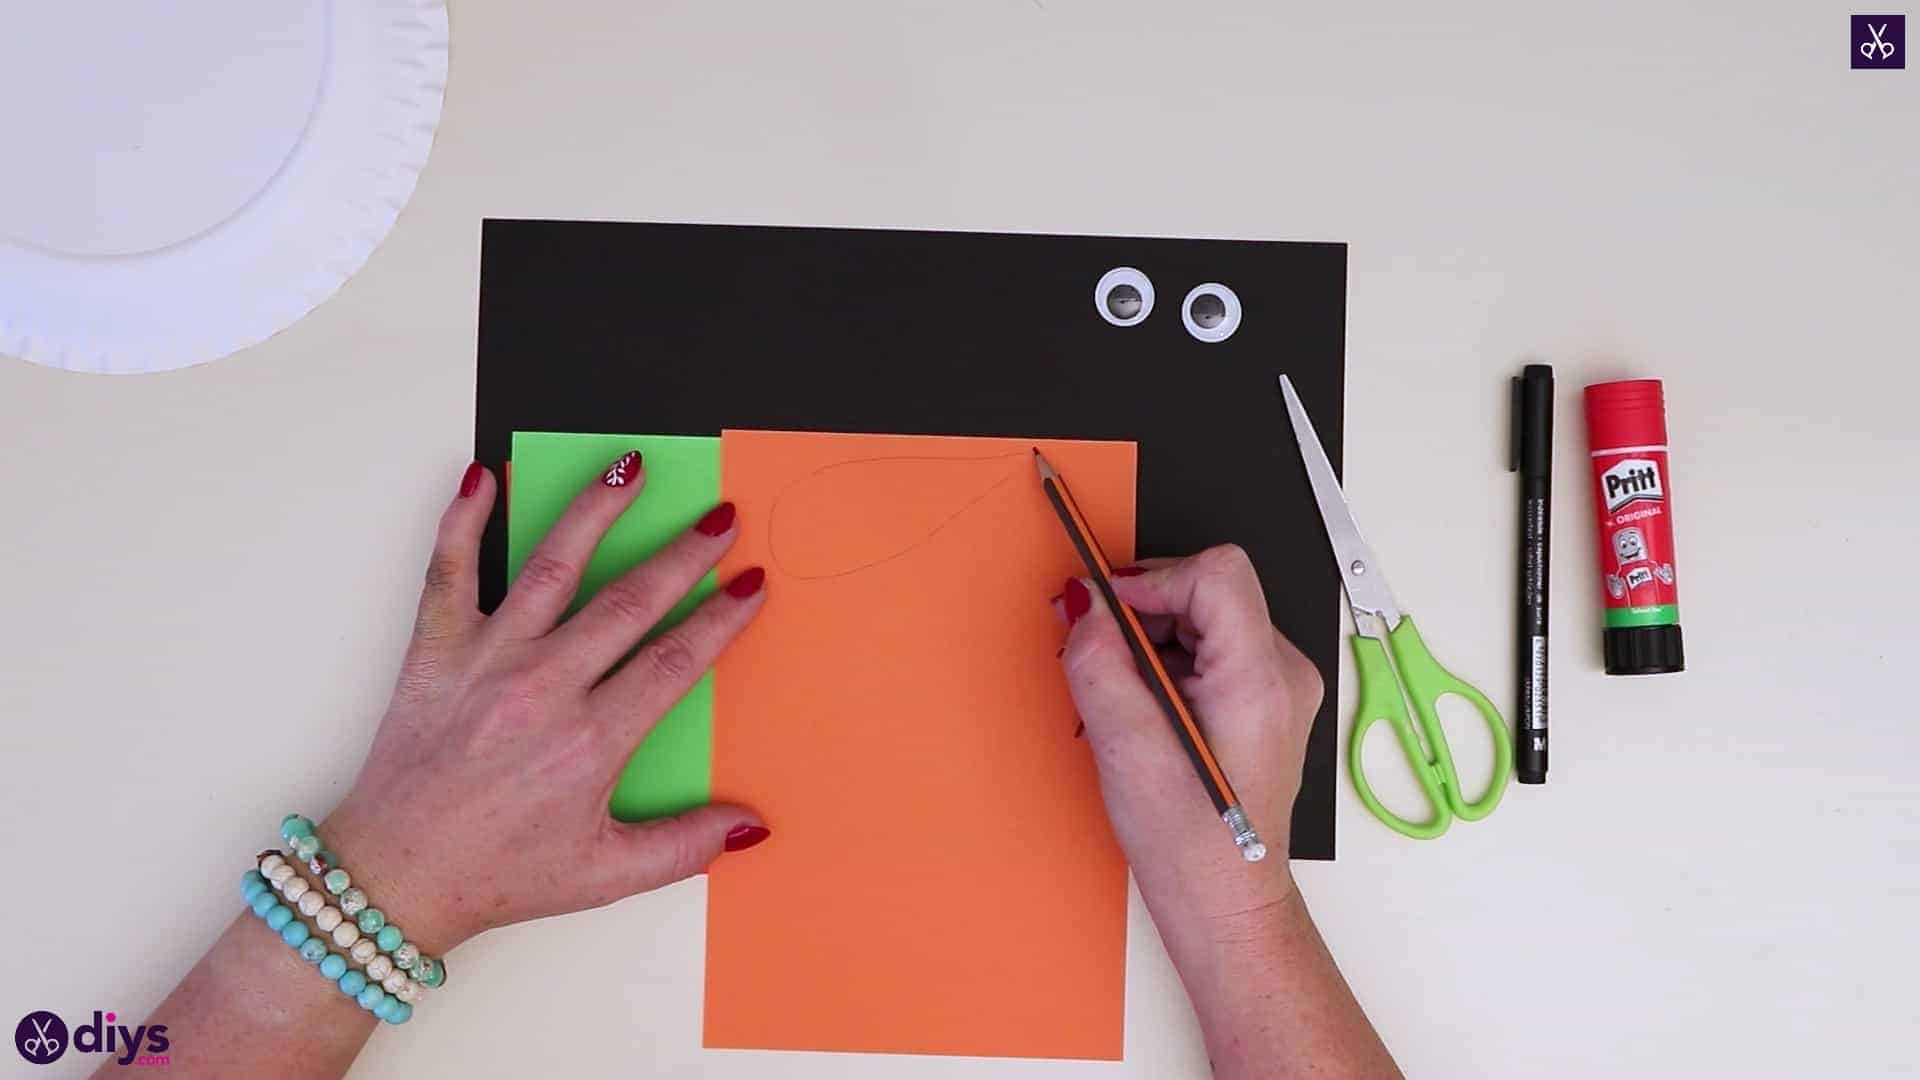
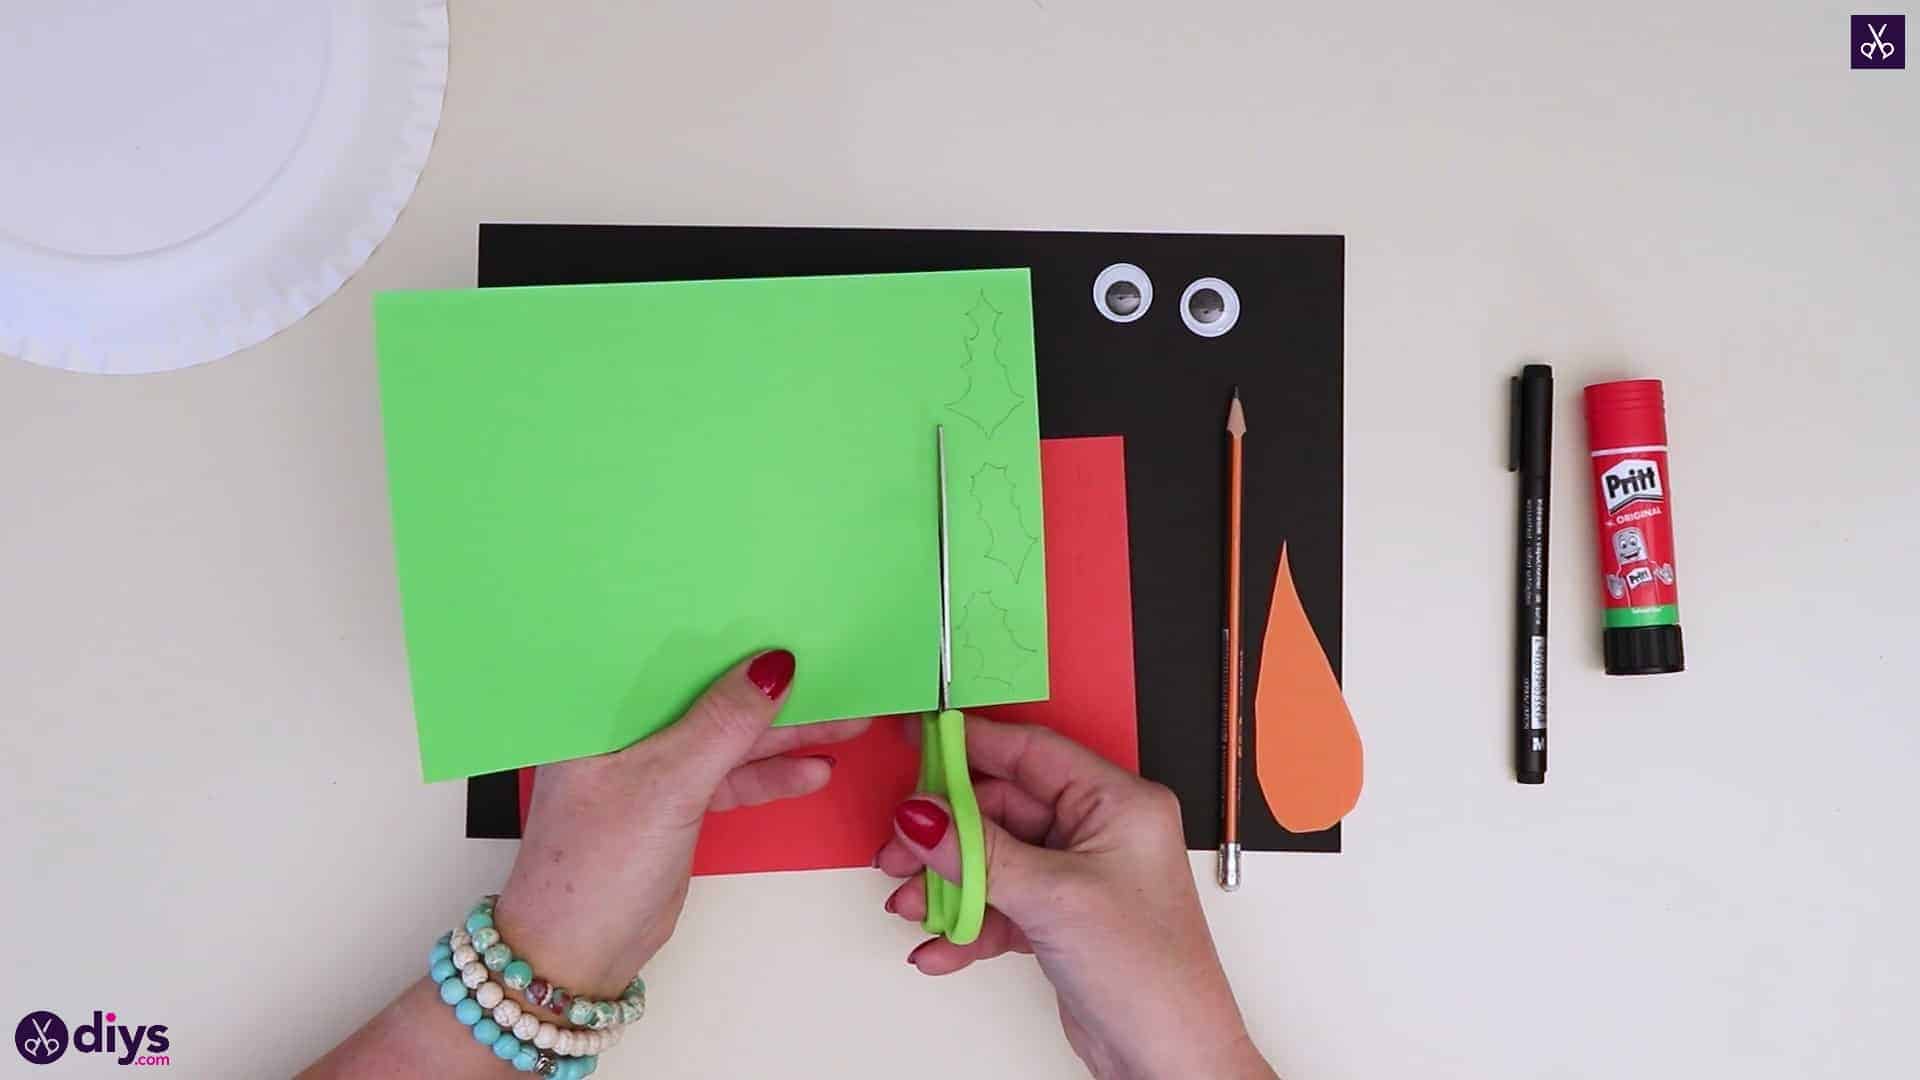
Step 2:
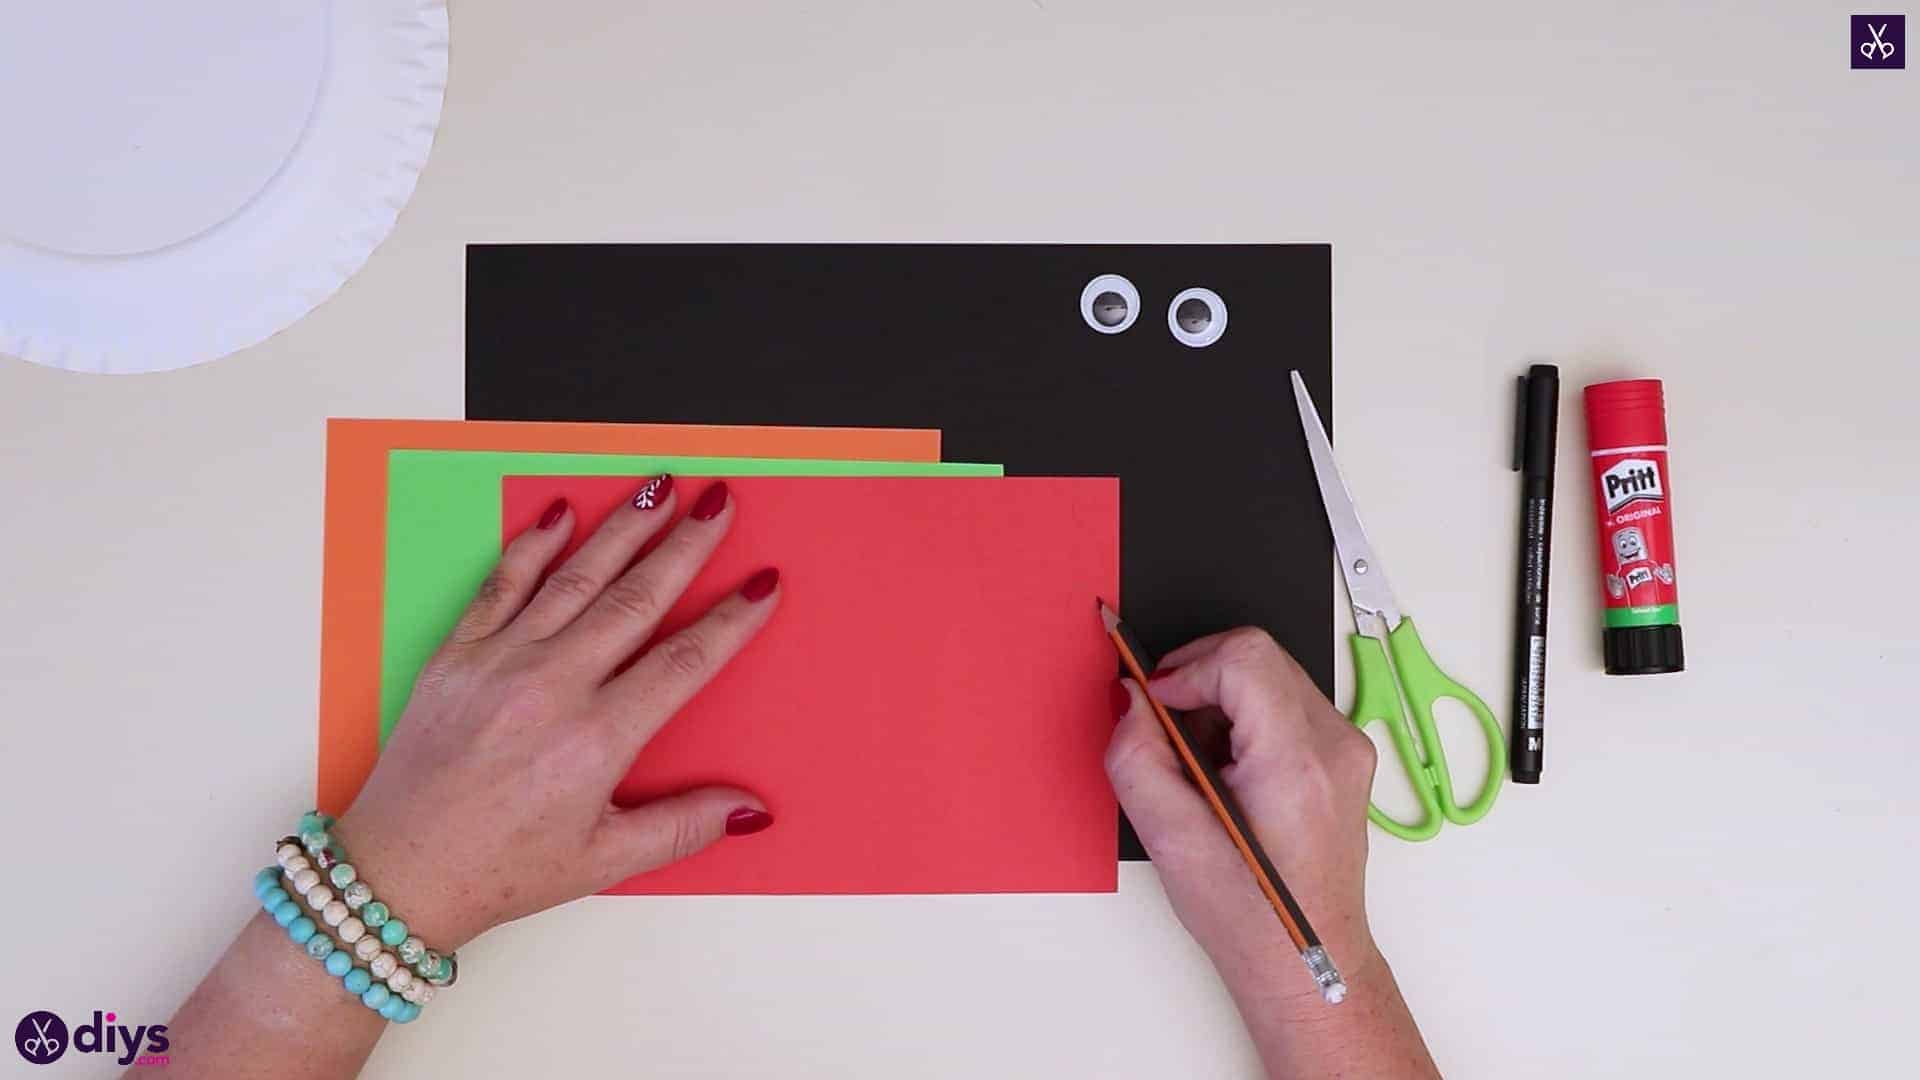
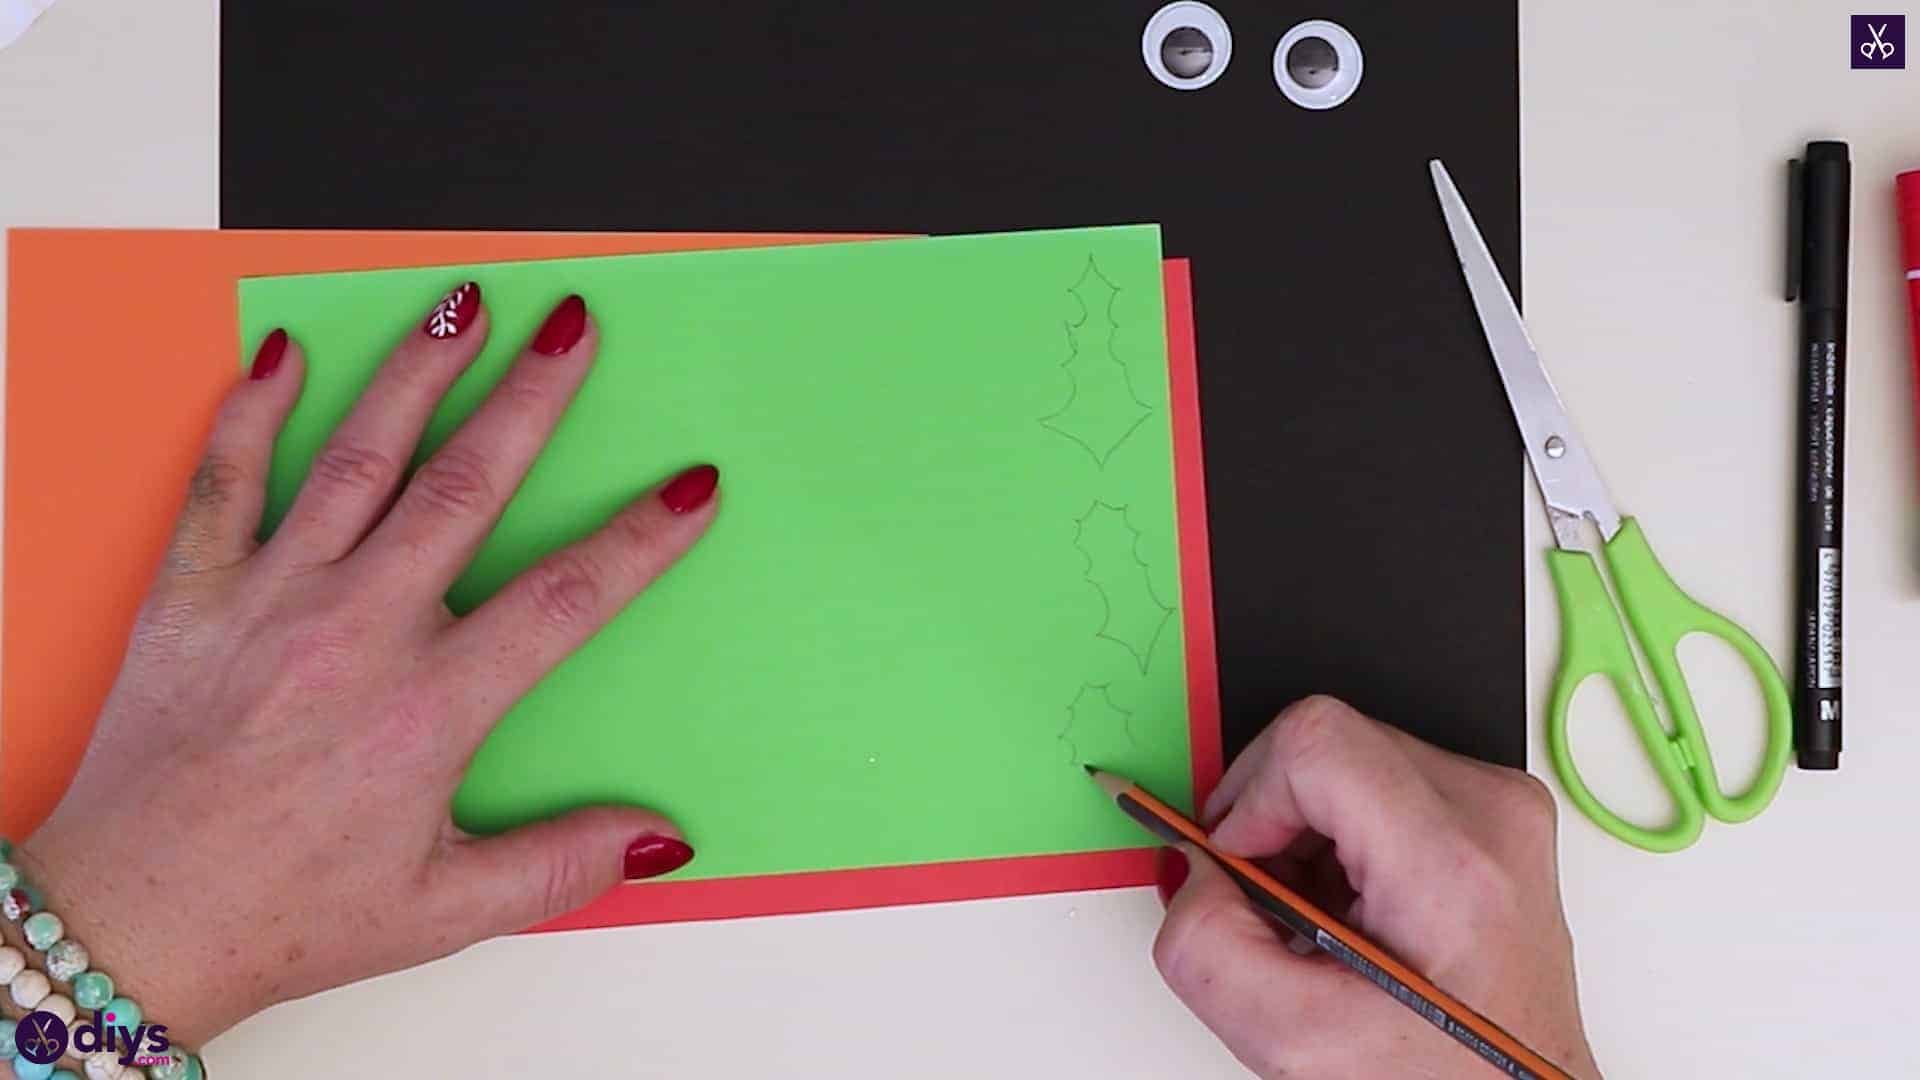
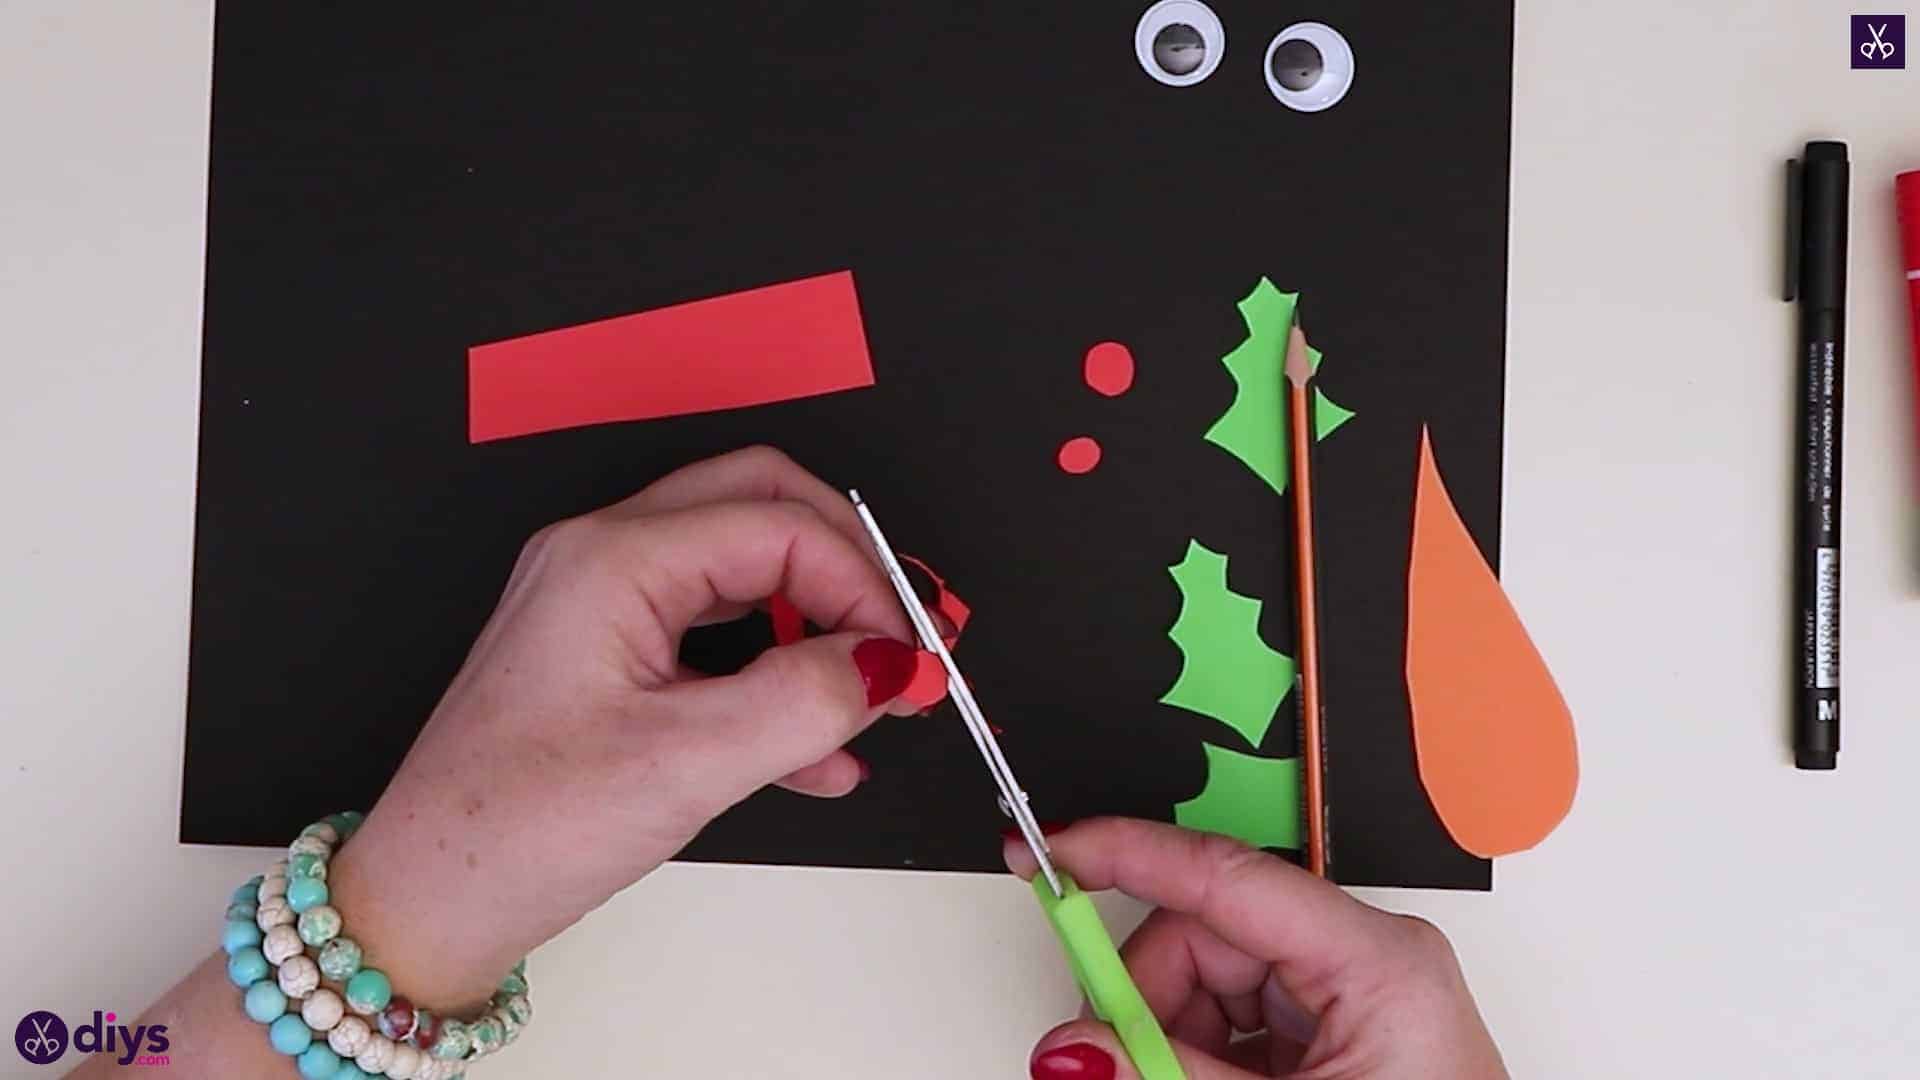
Draw all of your smaller details first to be cut out after. On your red paper, draw three small circles to be holly berries. On your green paper, draw three small, spiky holly leaf shapes. On your orange paper, draw a medium sized carrot nose, somewhat rounded on its wider end and tapering to a point at the other end.
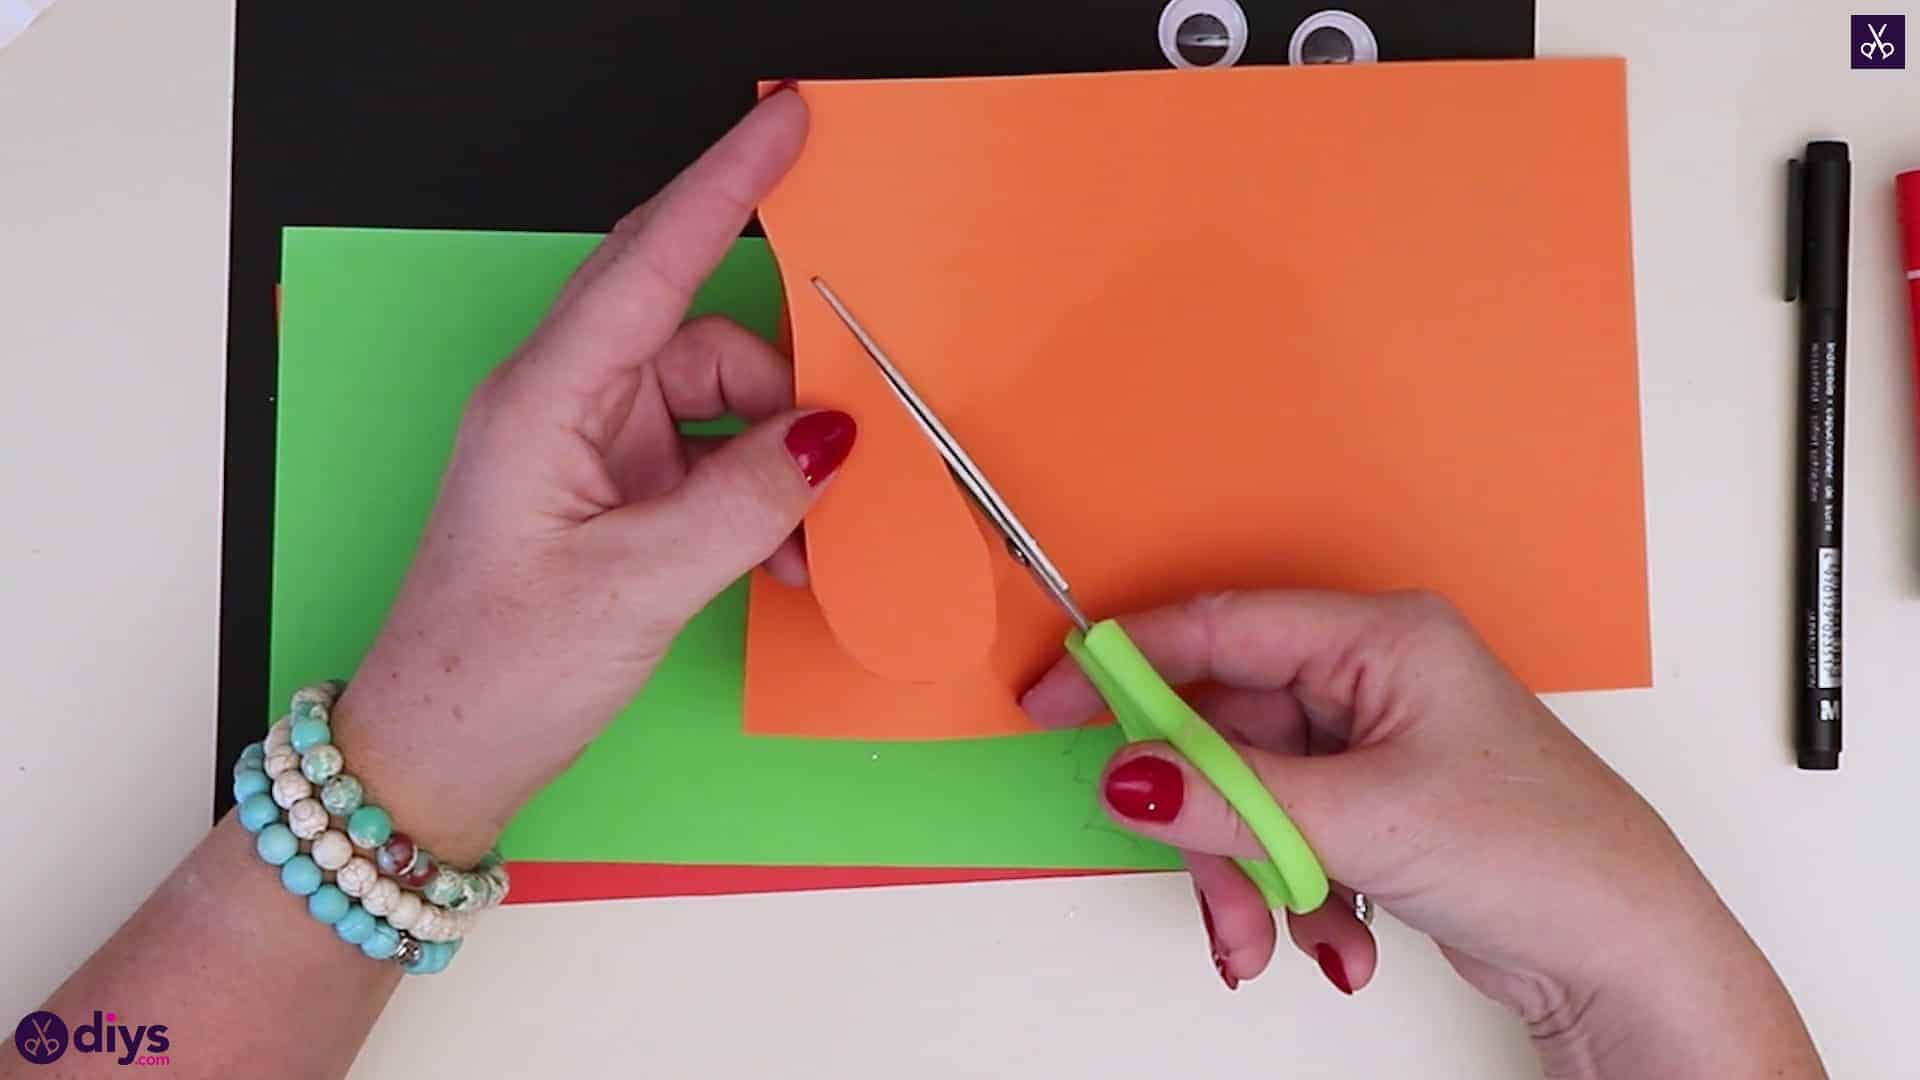
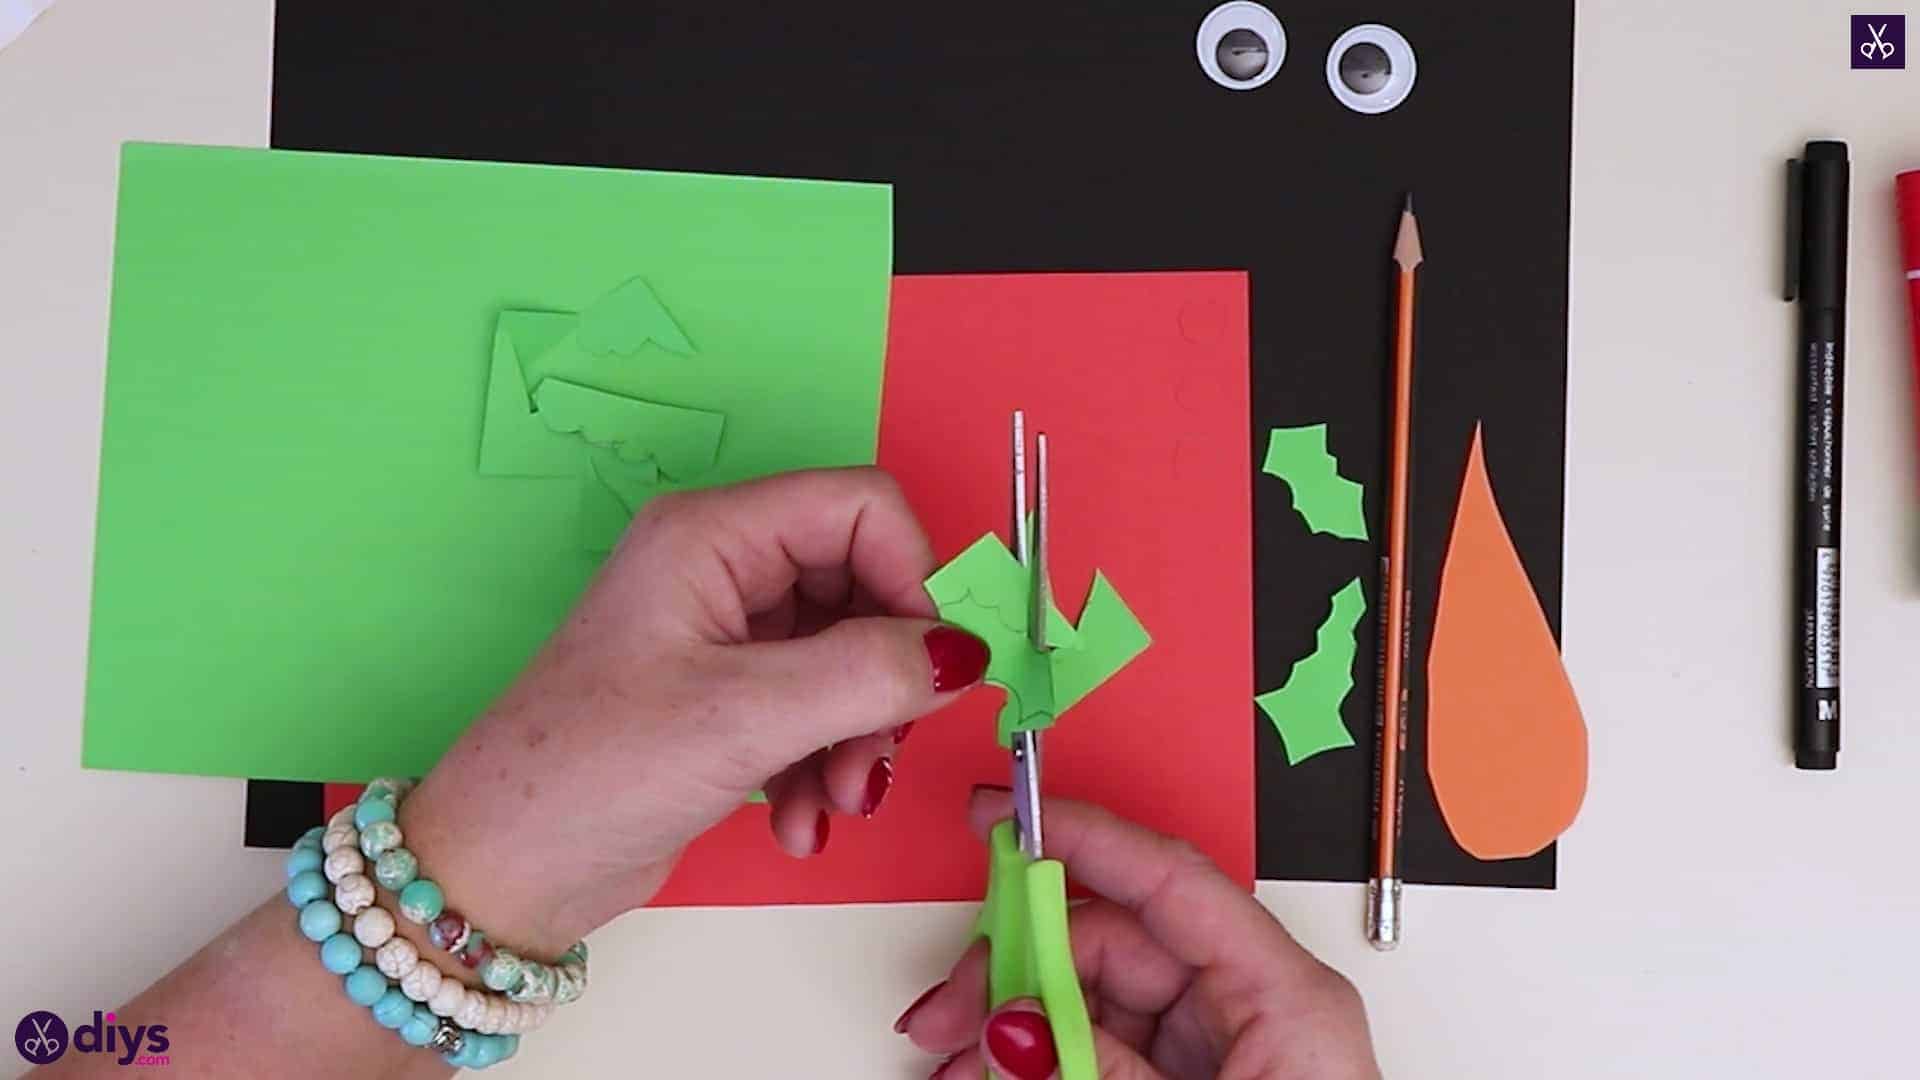
Step 3:
Cut out each of these shapes from your three coloured sheets and set them side for the moment.
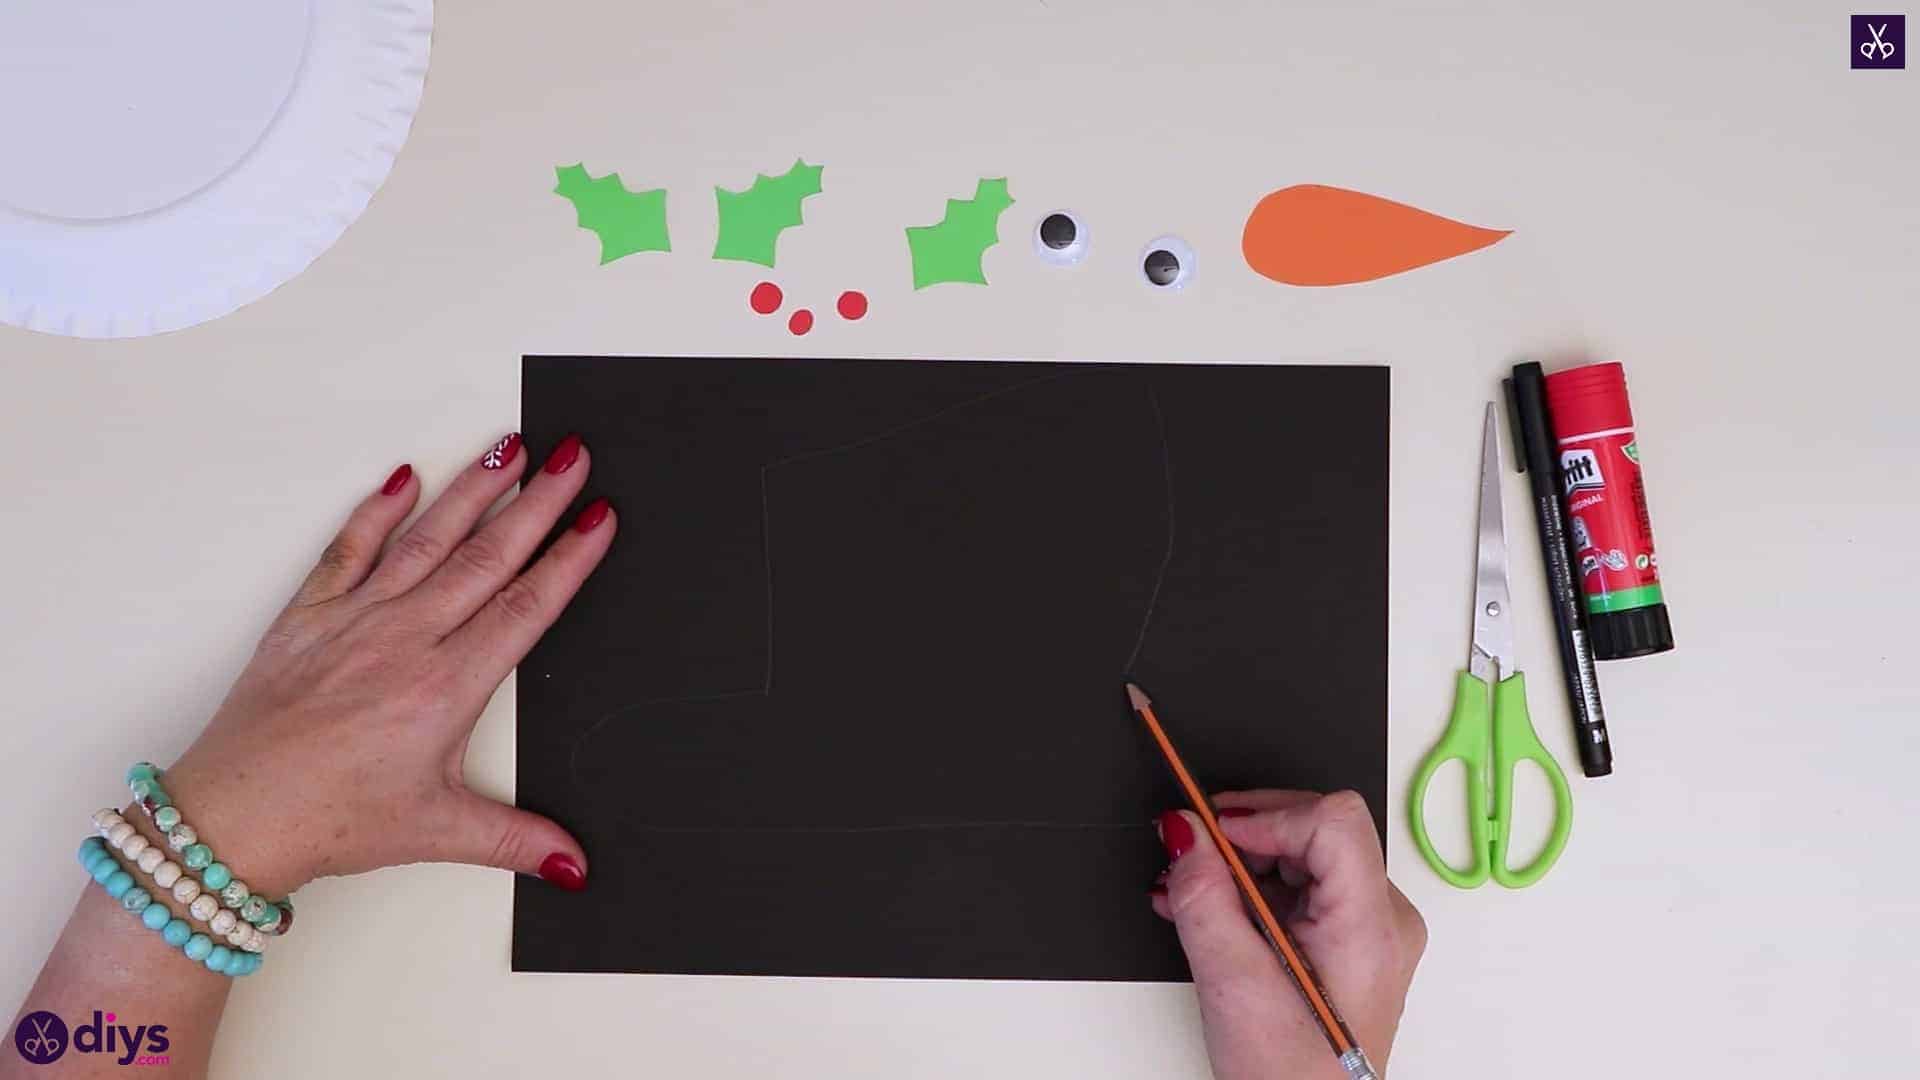
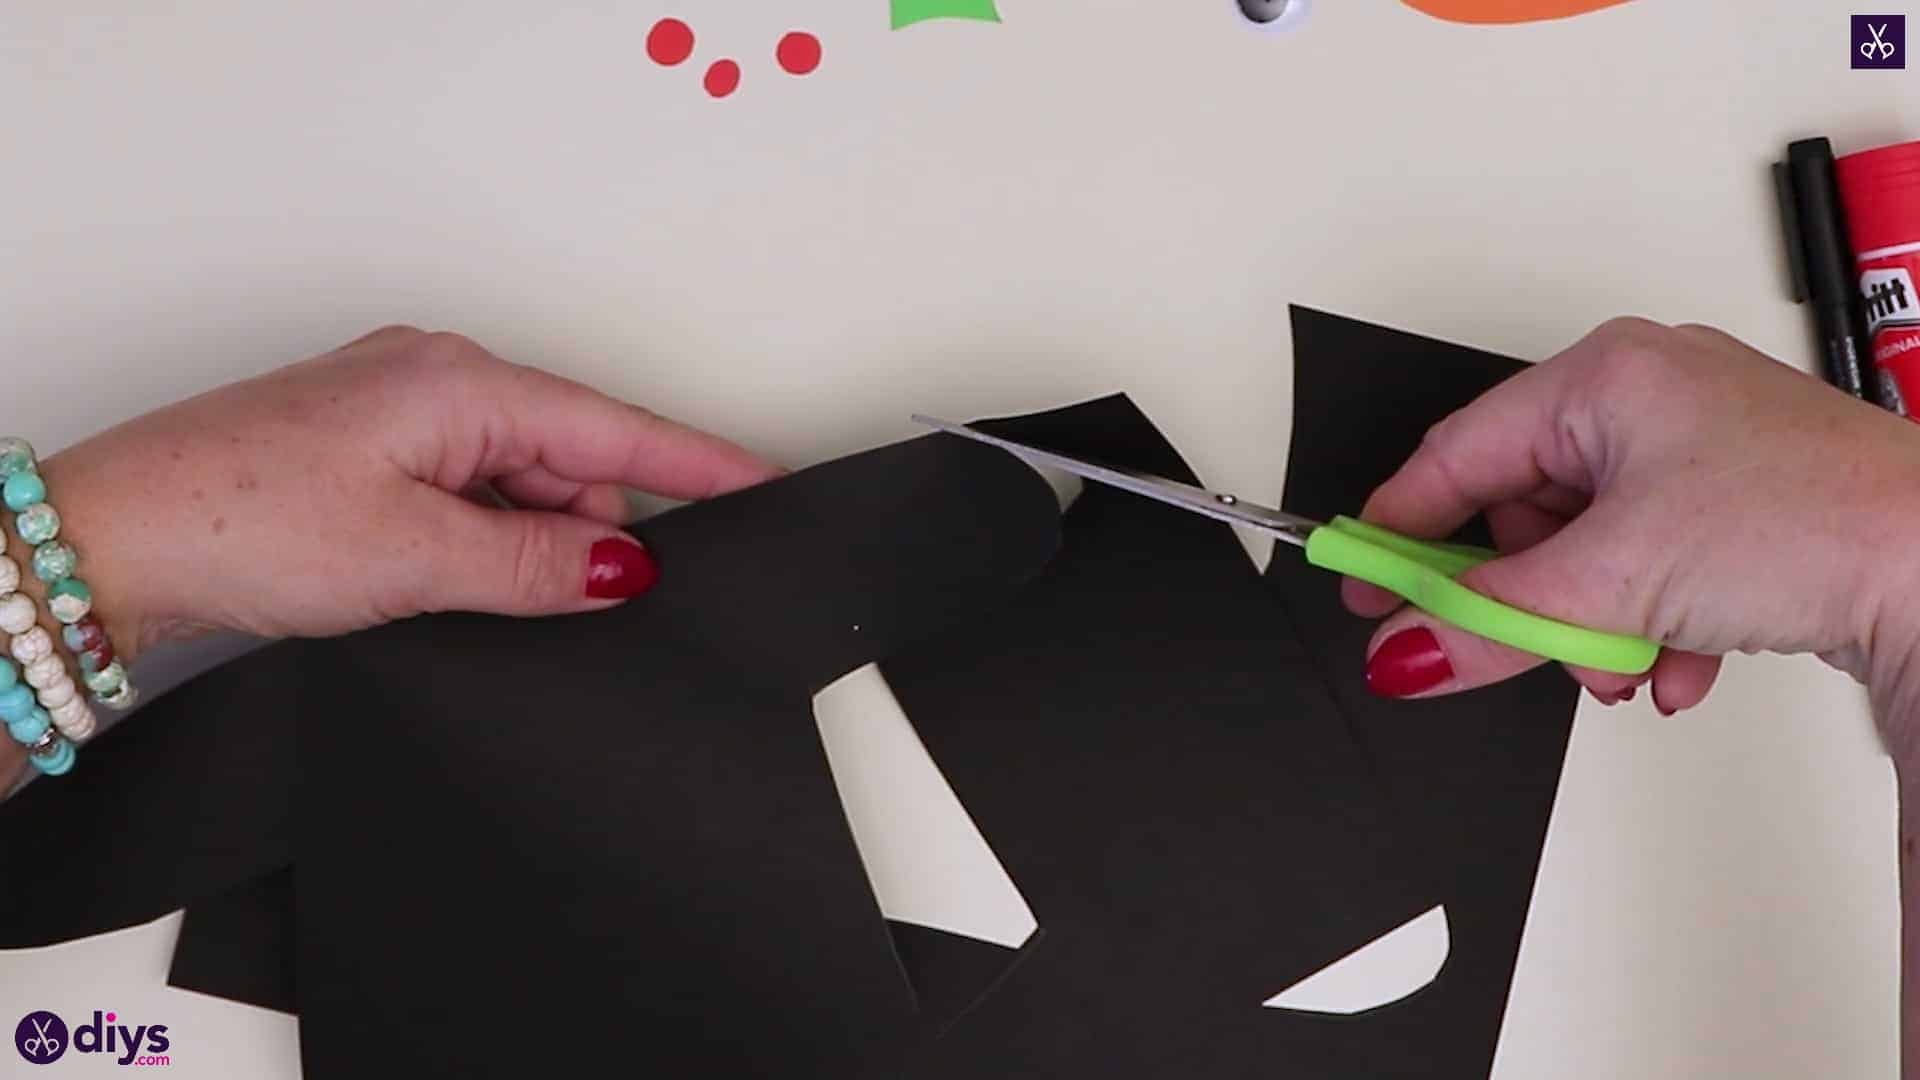
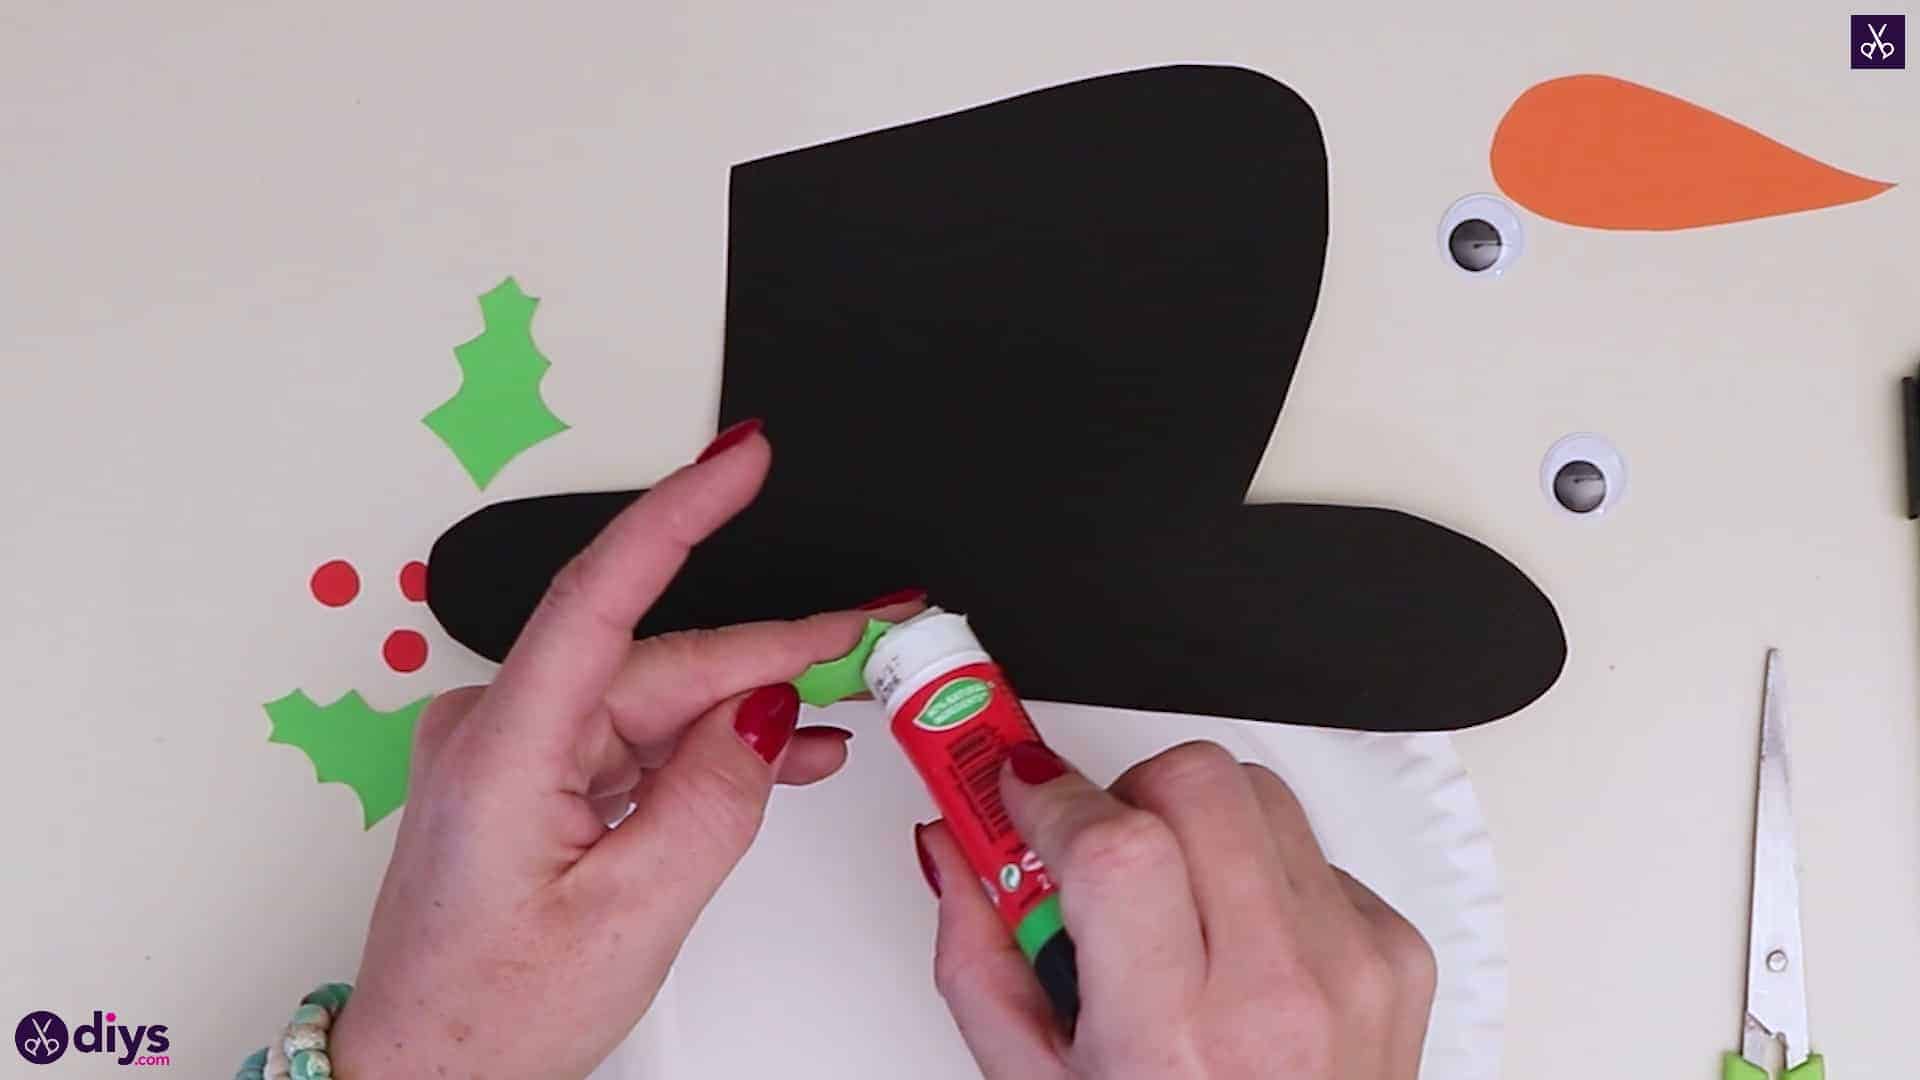
Step 4:
Draw the shape of a large top hat across your black piece of paper. I gave mind a jaunty curve on one side at the top and a precise point at the other side to make it look fun and cartoonish. Cut your hat out.
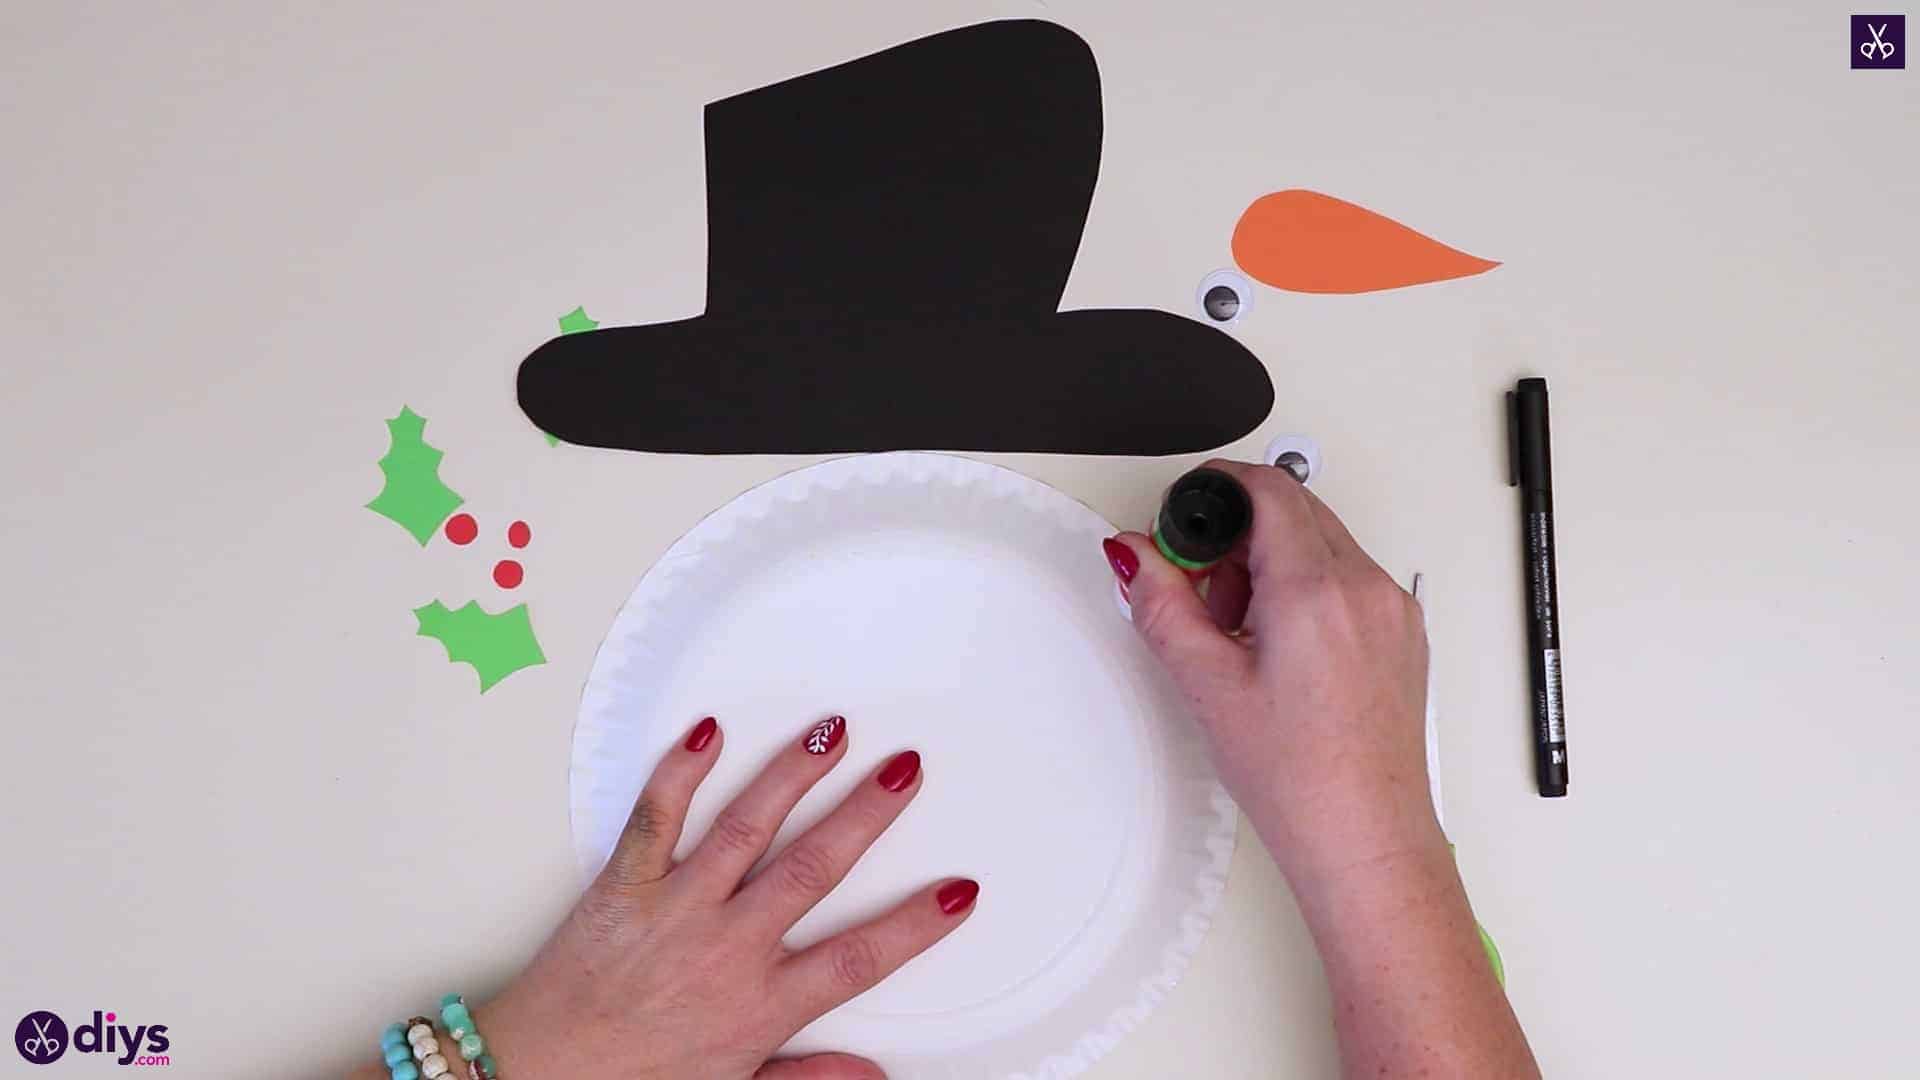
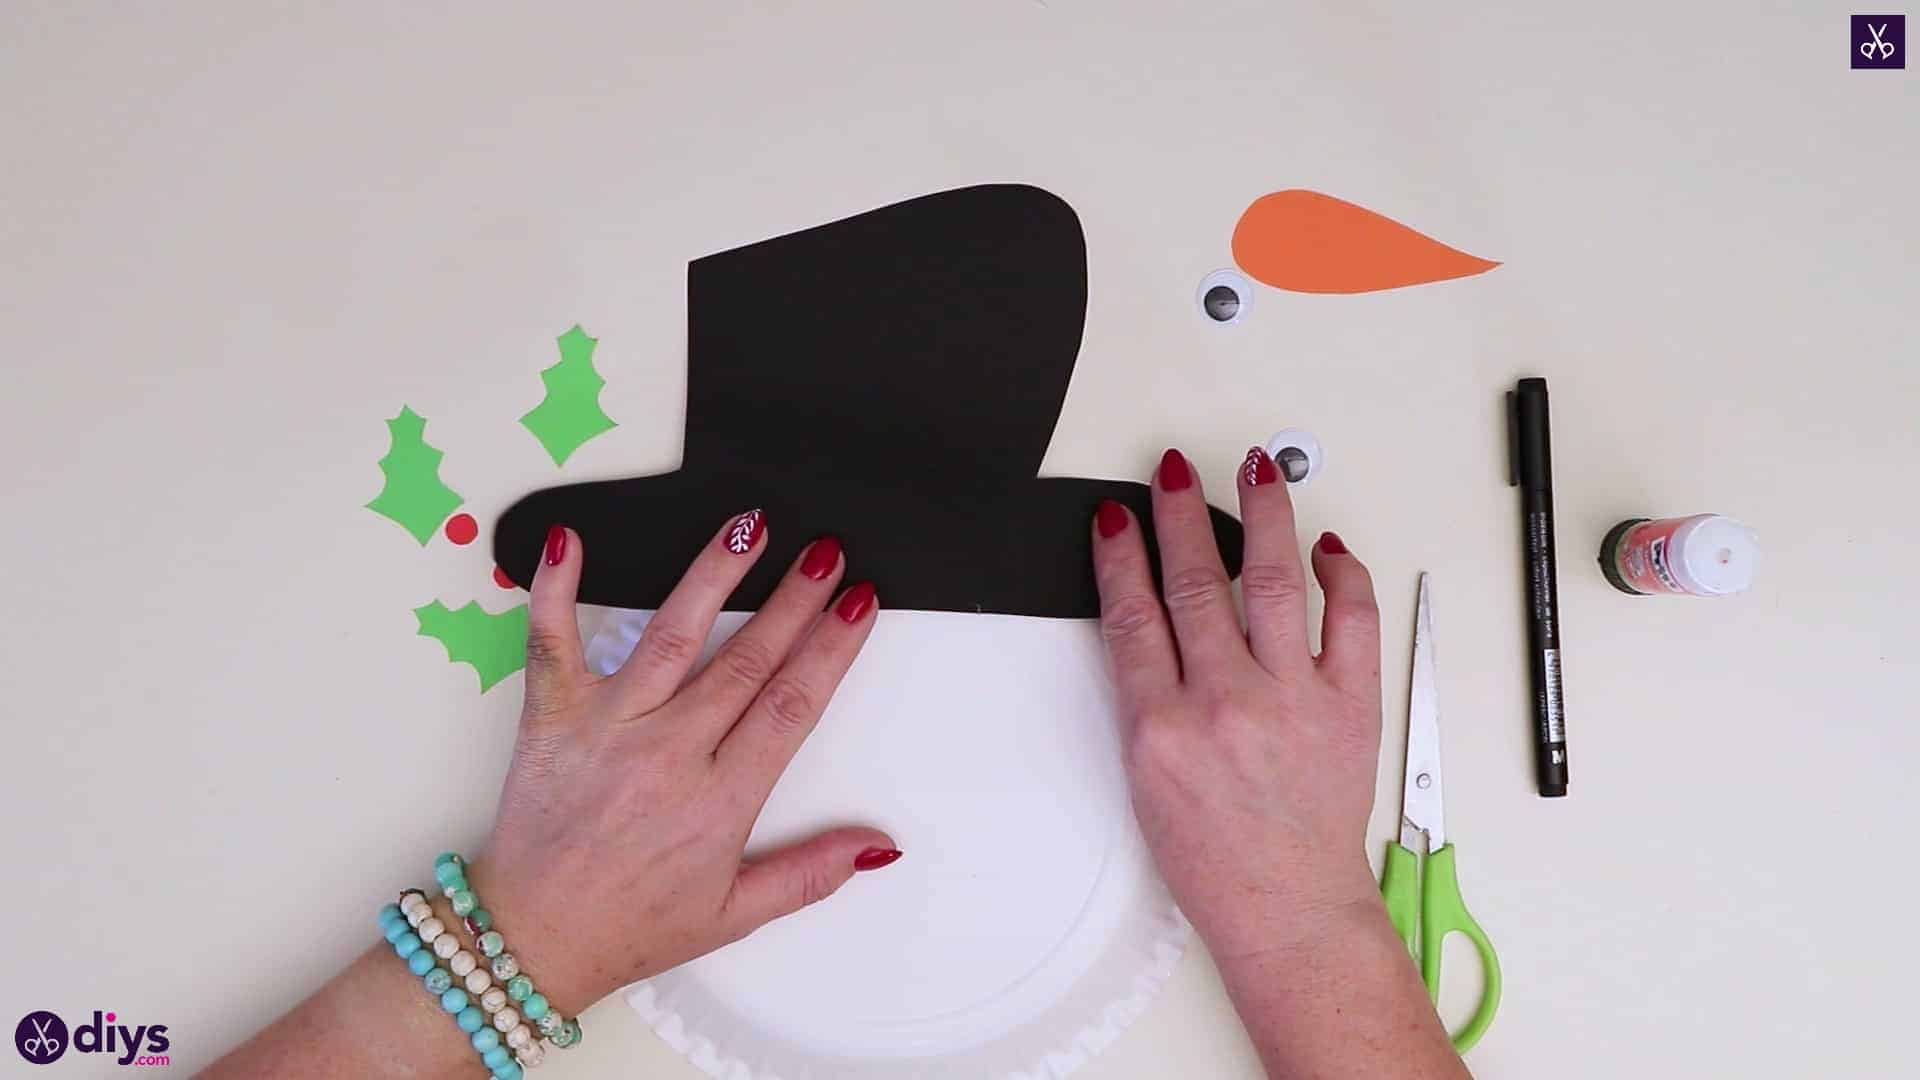
Step 5:
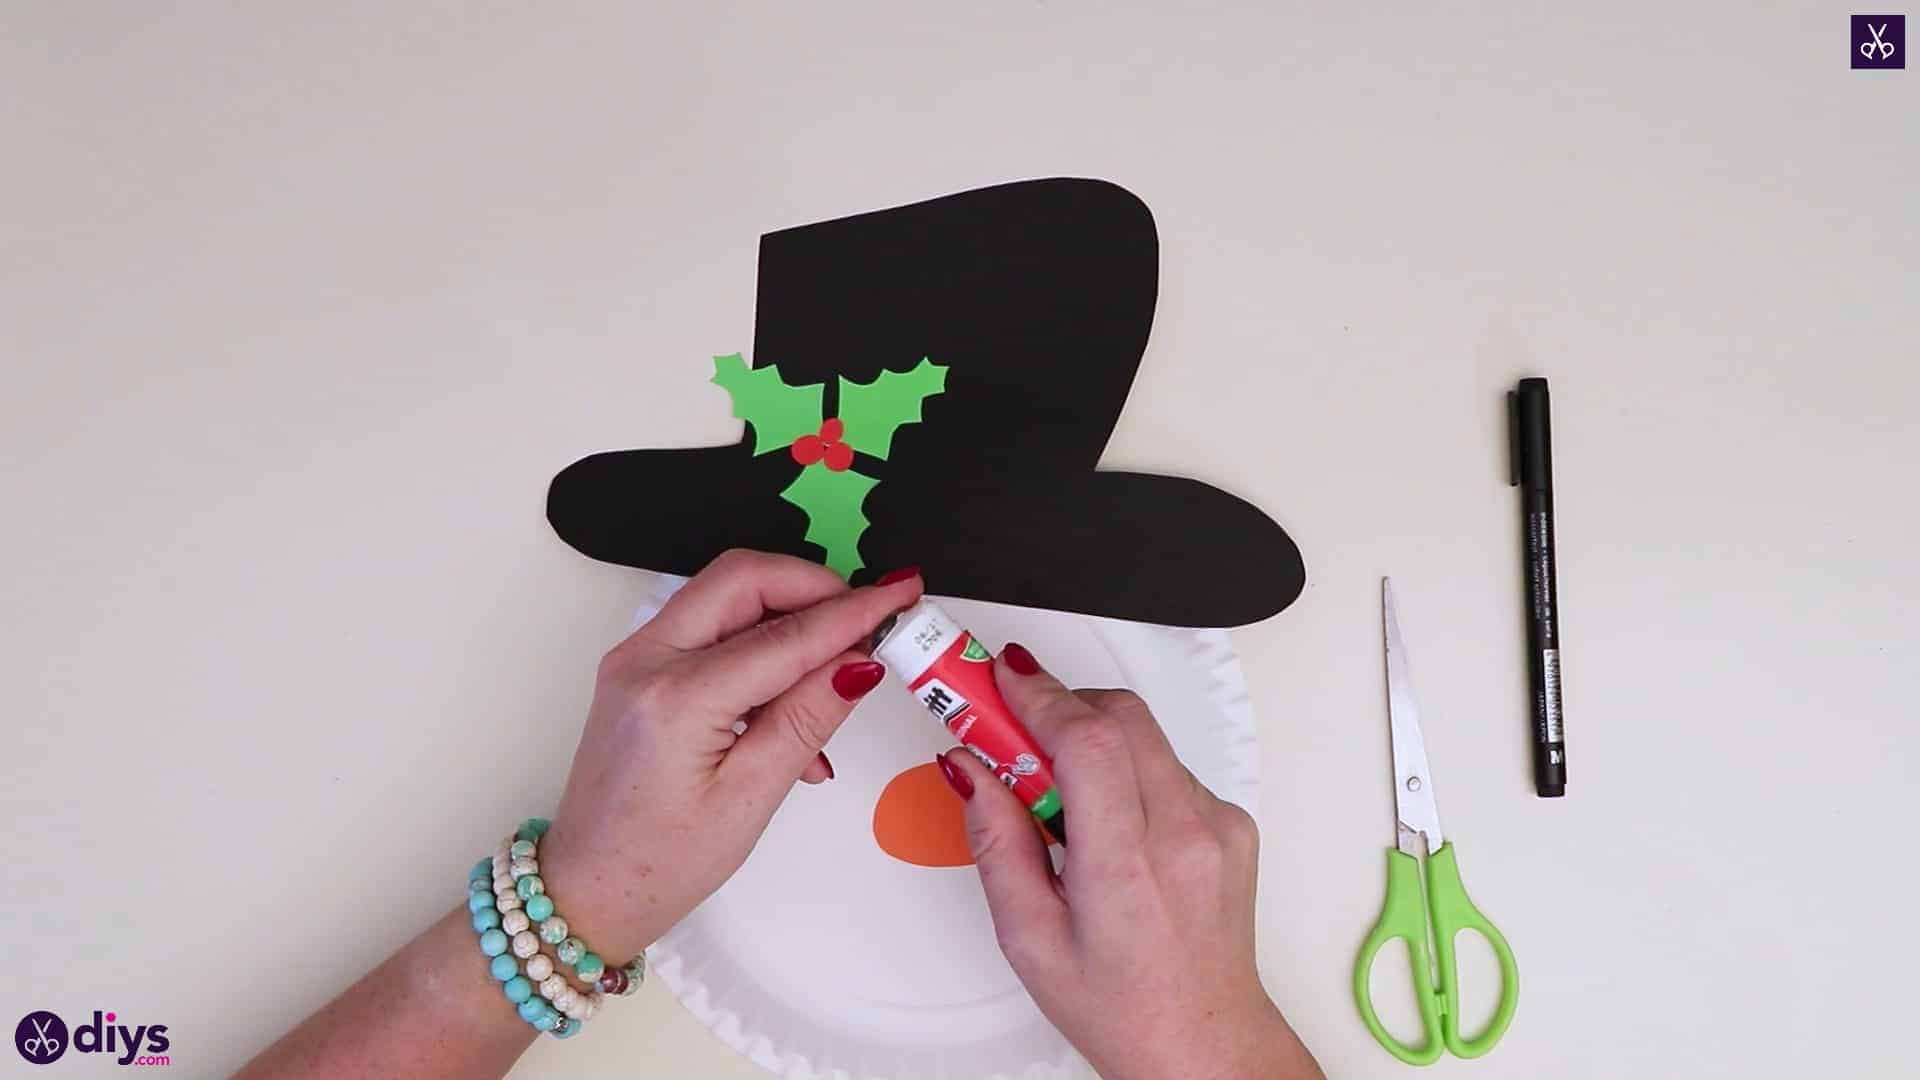
Turn your plate over so its upside down on your work surface and apply glue all along the top rim. Stick your hat down there so the edge overlaps onto the circular part a little, like its sitting on the snowmans forehead.
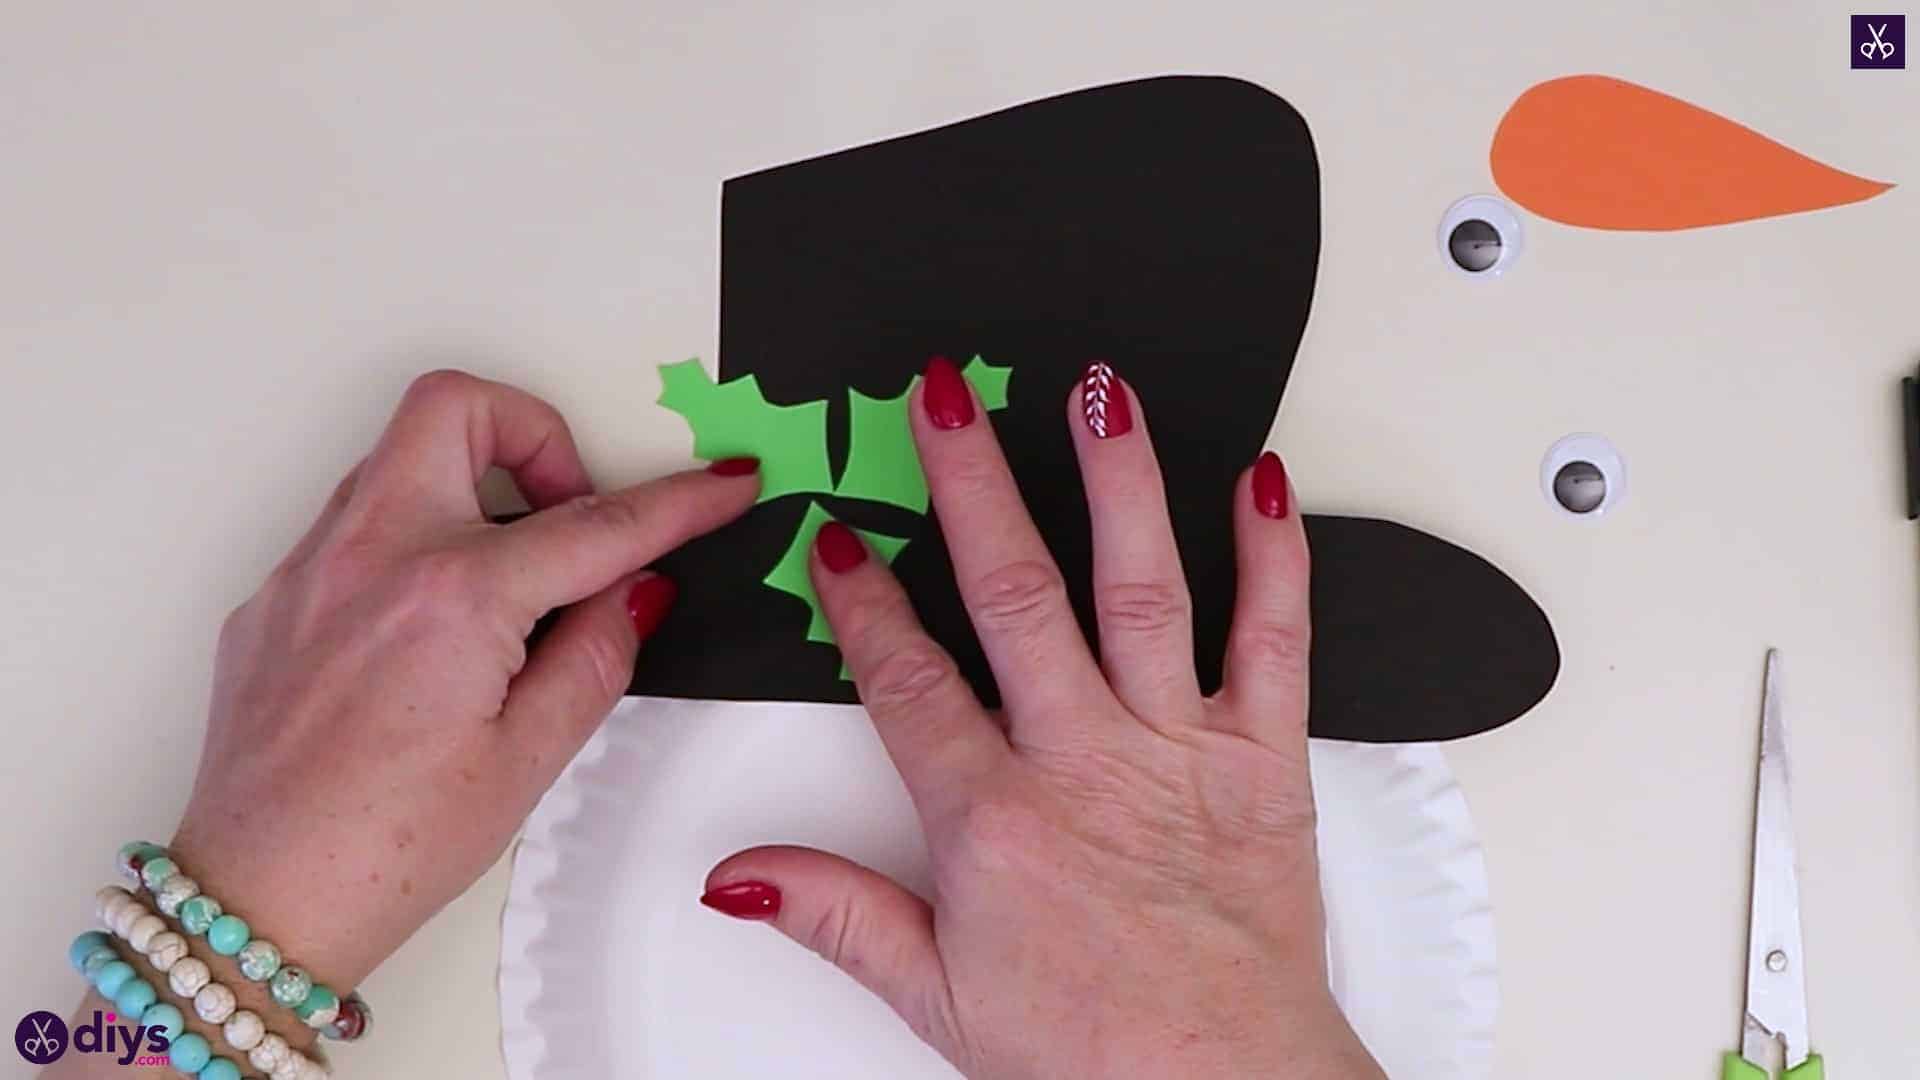
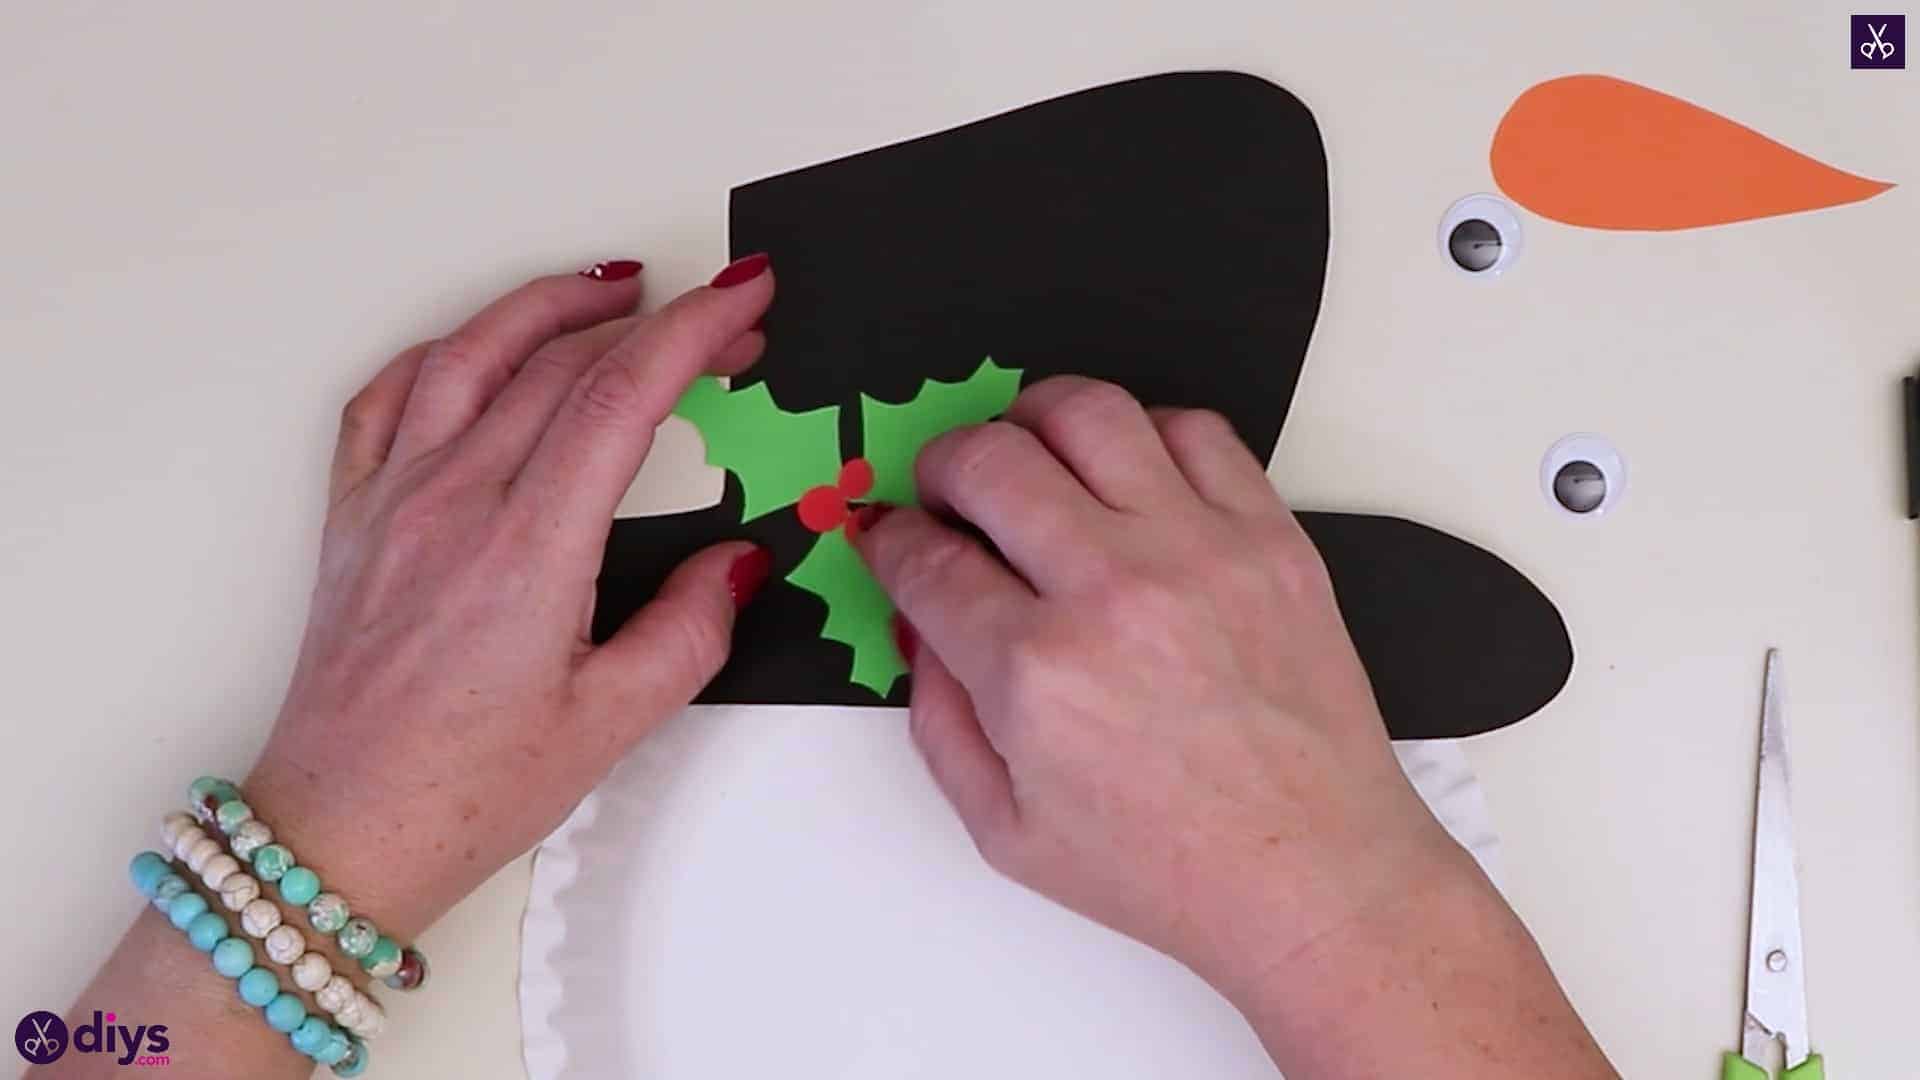
Step 6:
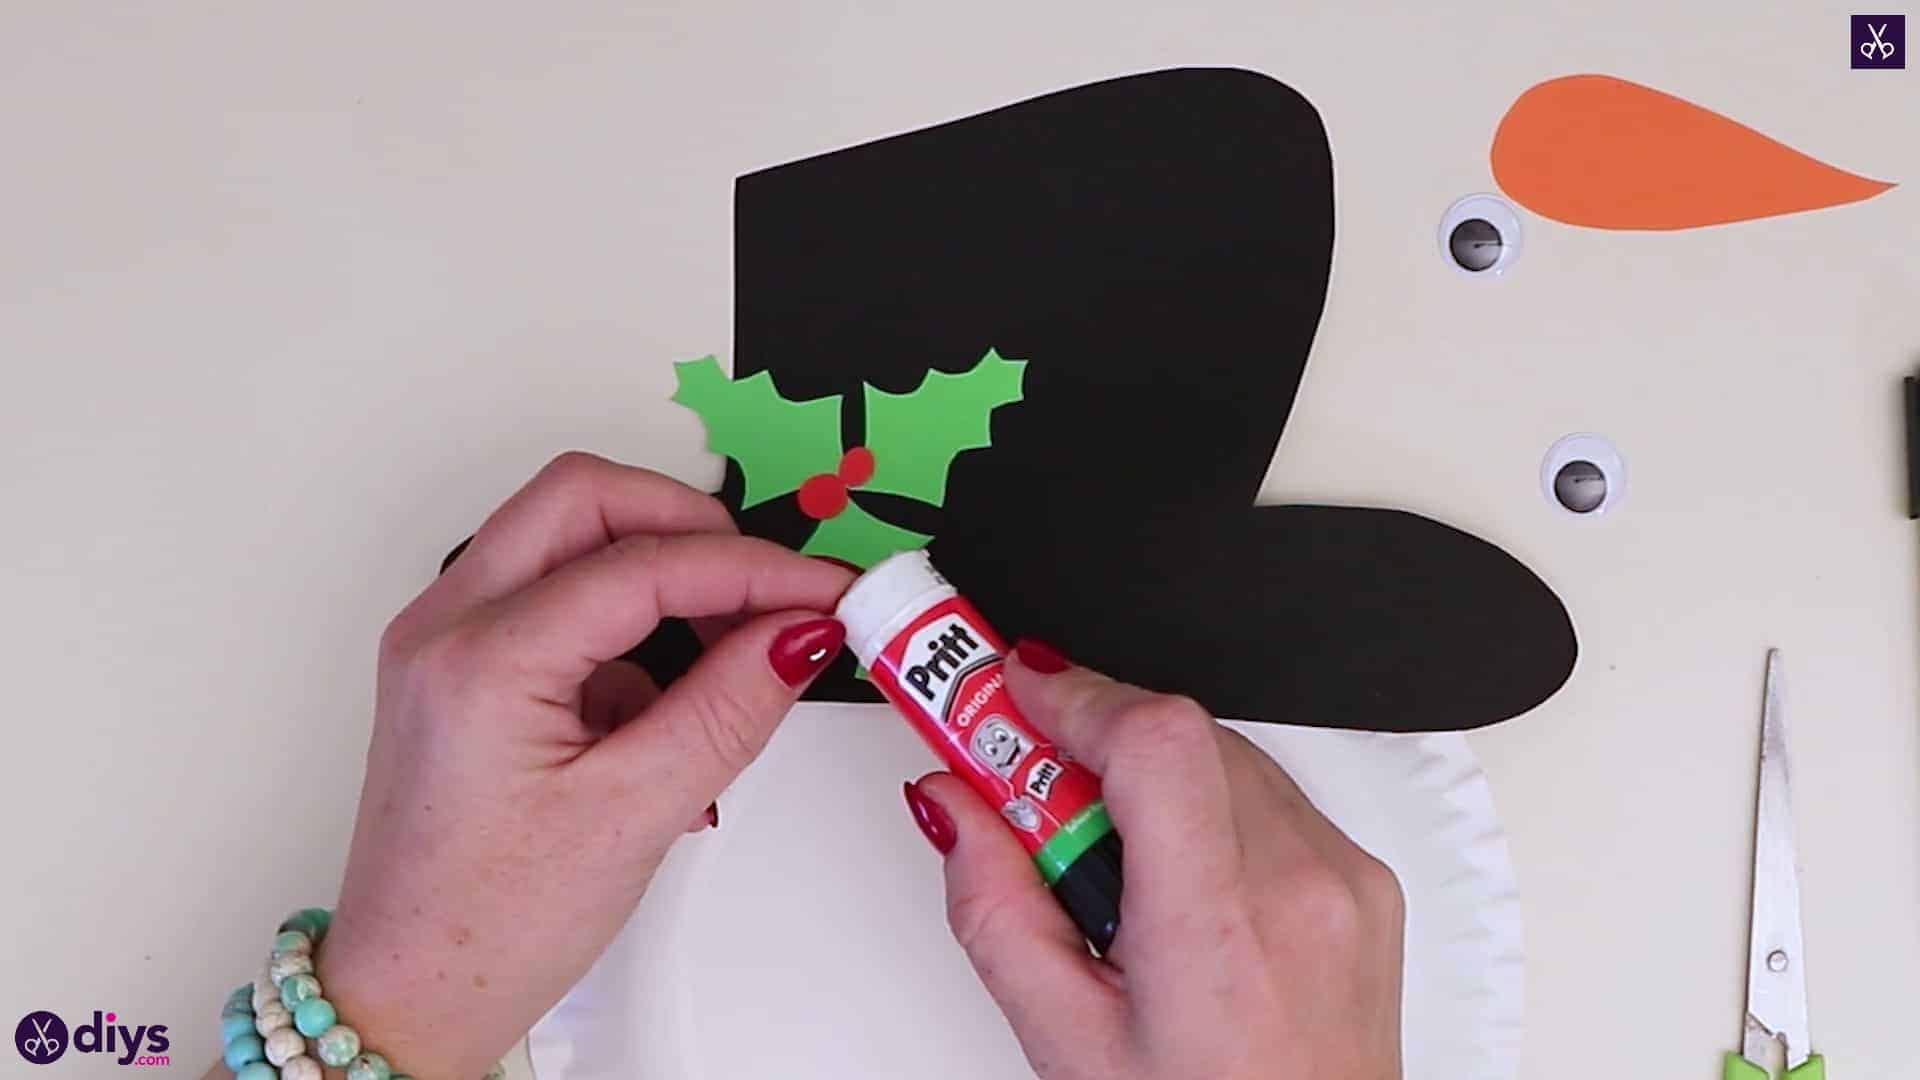
Apply glue to the base ends of your holly leaves and stick them where you please on the hat, in a little bundle of three that splays in different directions. I chose to place mine off to the left side and just a little bit in from the edge, where a band might have say on a real hat. Once your leaves are in place, glue your red berries down overtop in a little threesome overlapping the centre of the leaves bases.
Step 7:
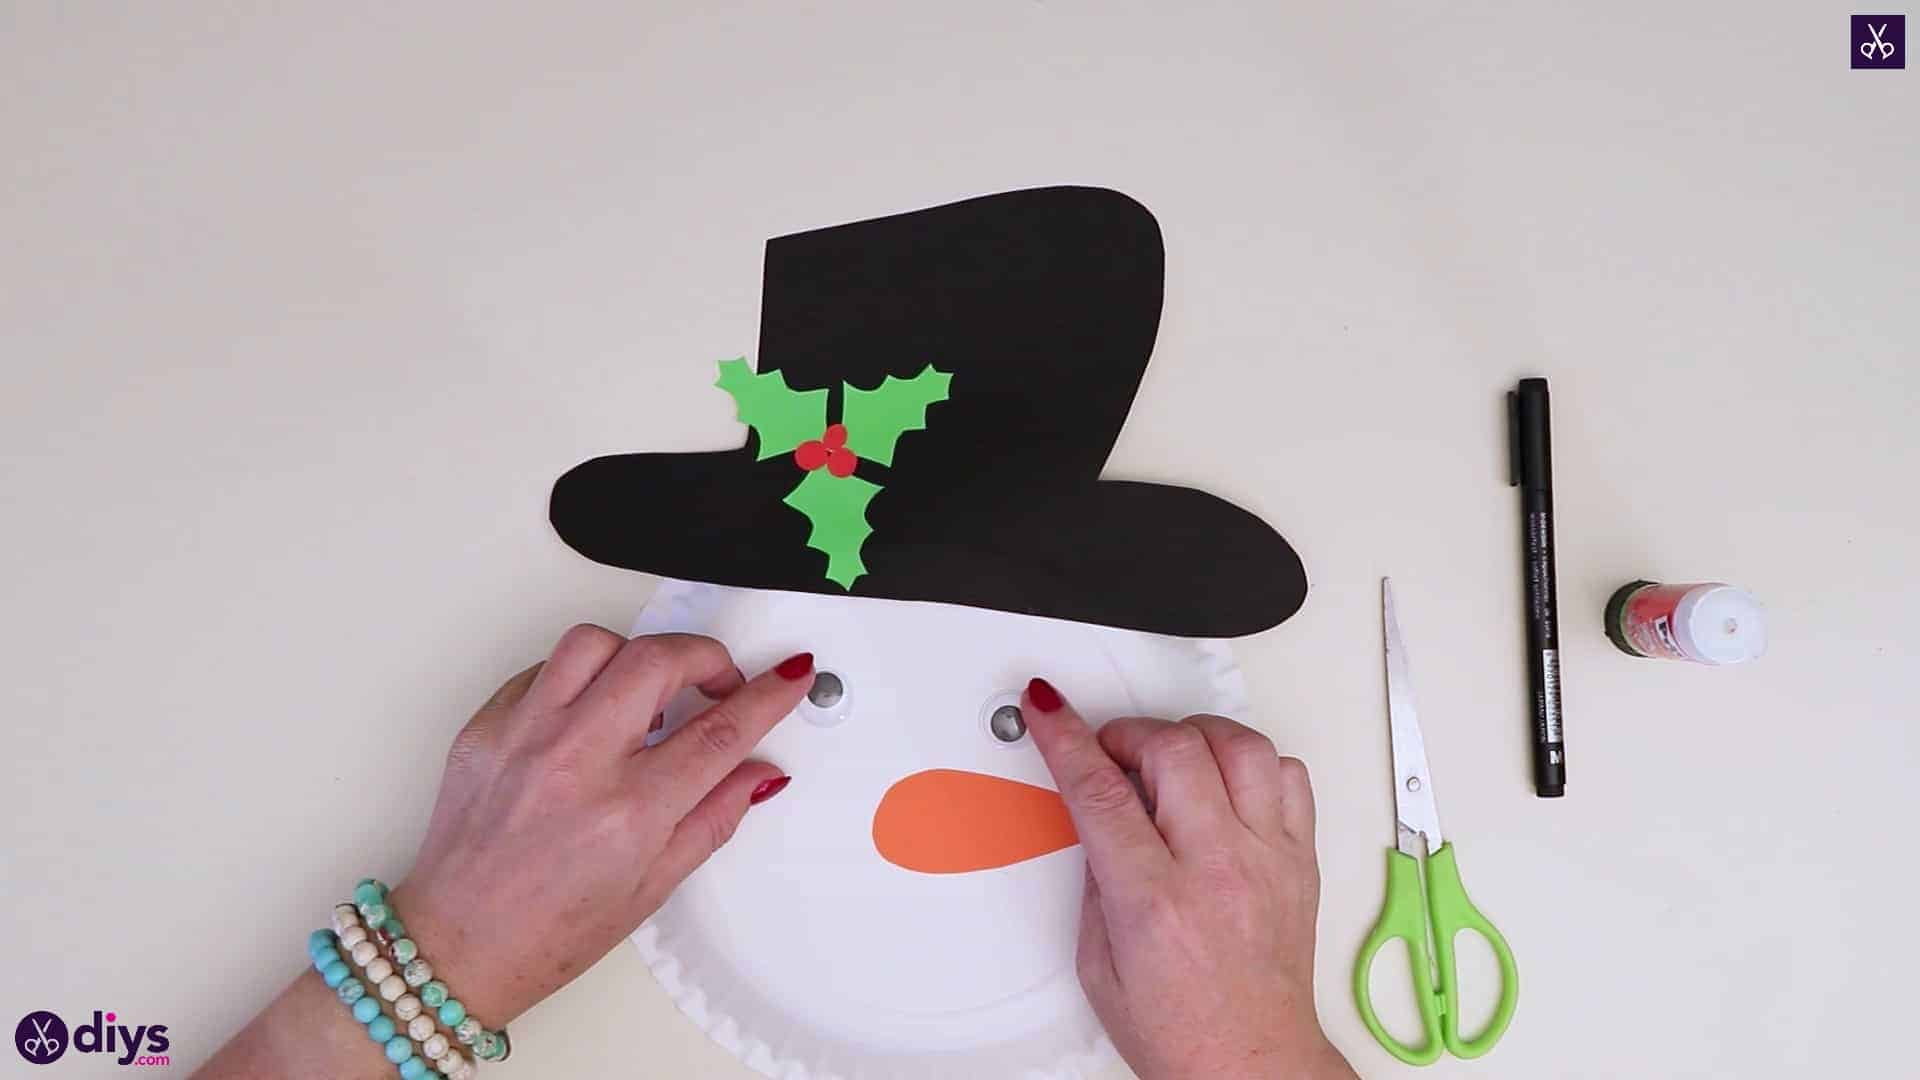
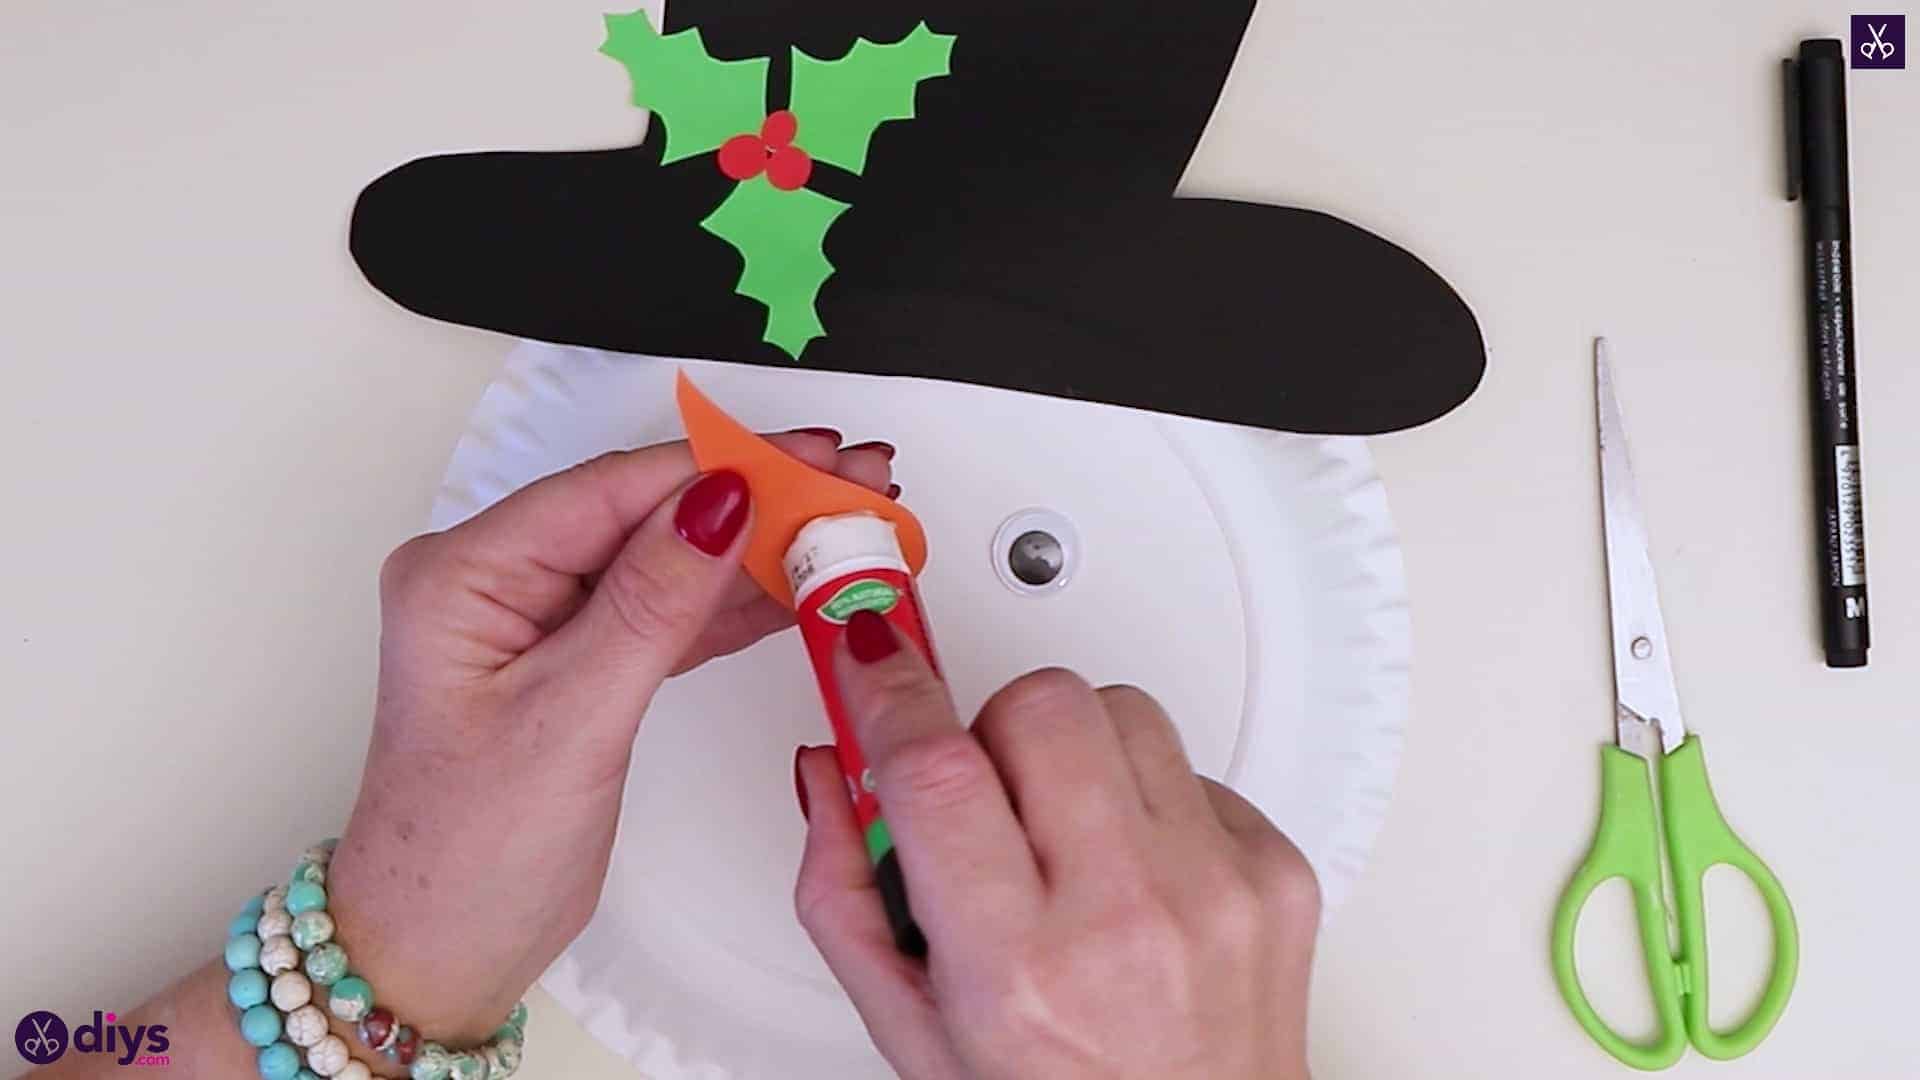
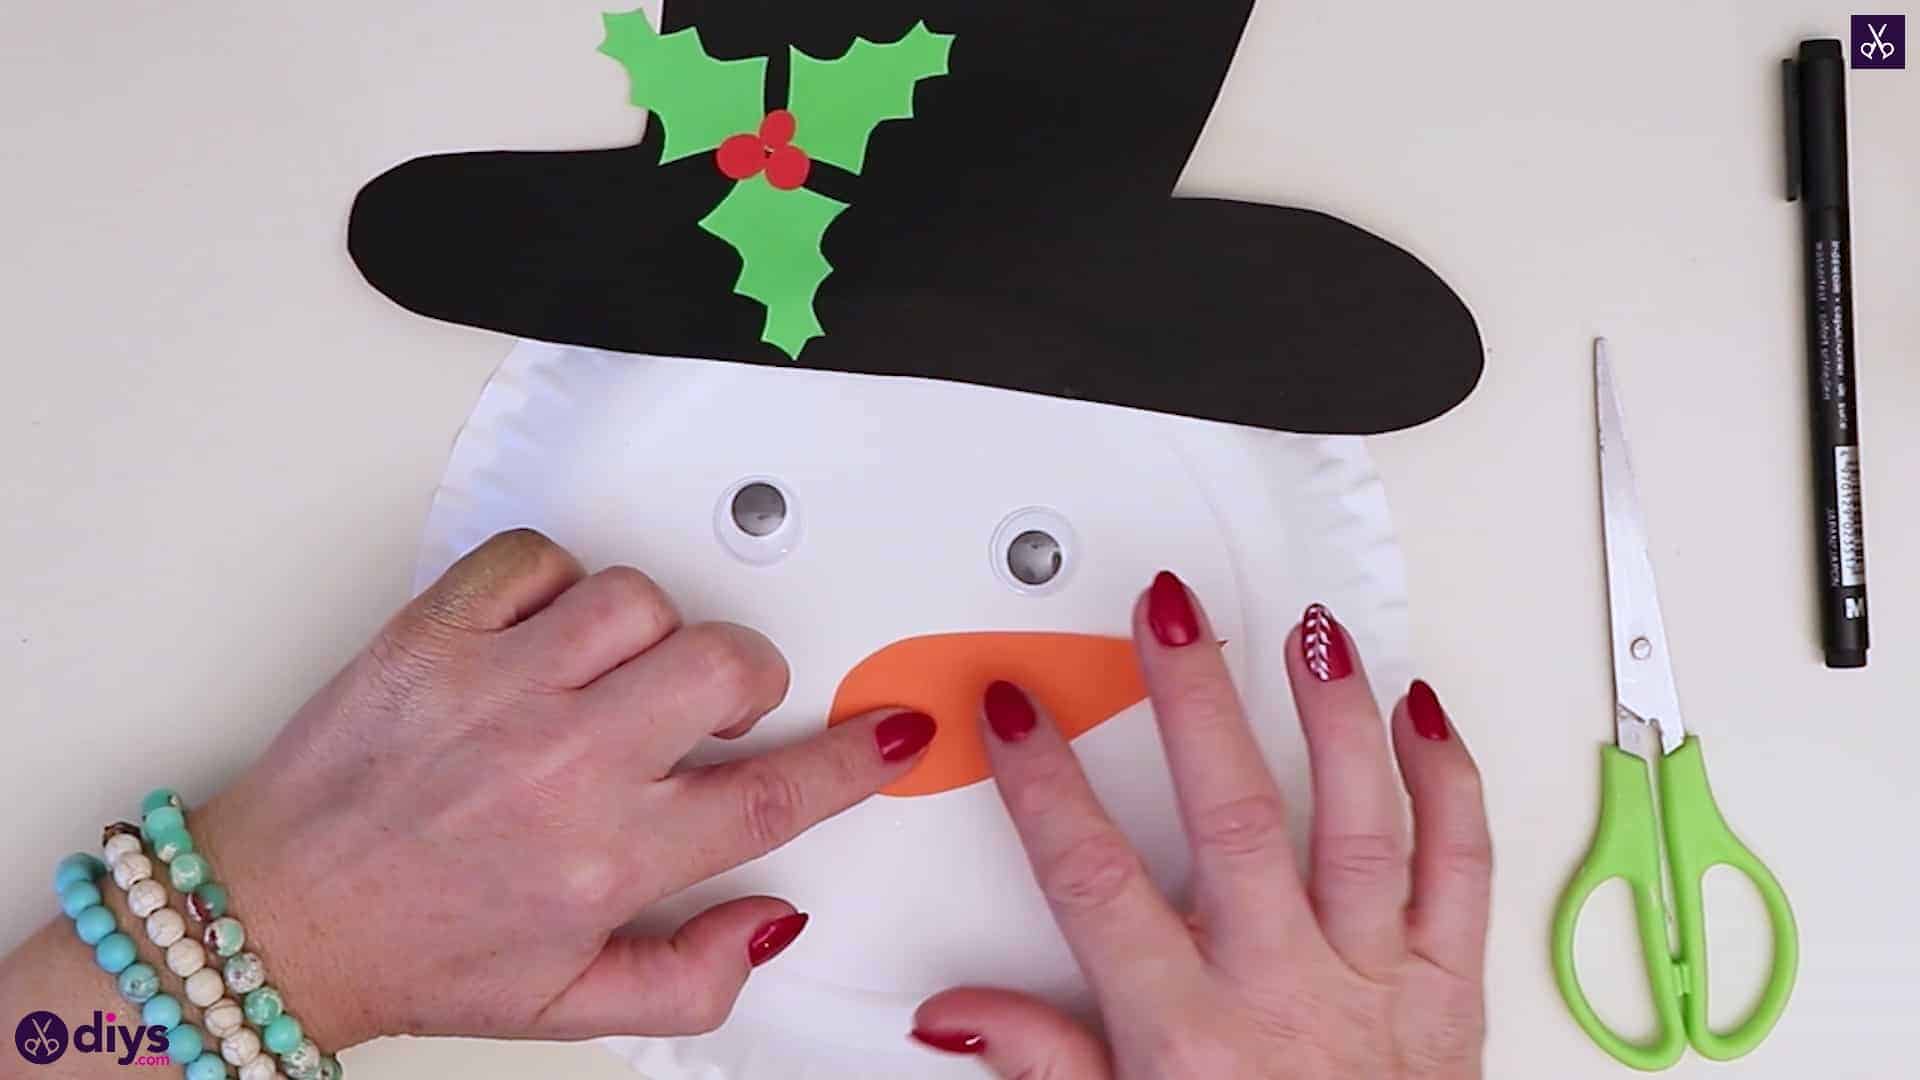
Glue your snowmans nose and eyes down! I placed my carrot nose where I thought the centre of the plate looked to be, but I waited to actually glue it down until Id stuck the eyes down where I wanted them, using the nose as a guideline.Then I glued the nose down, leaving myself to adjust a little to suit the eyes best.
Step 8:
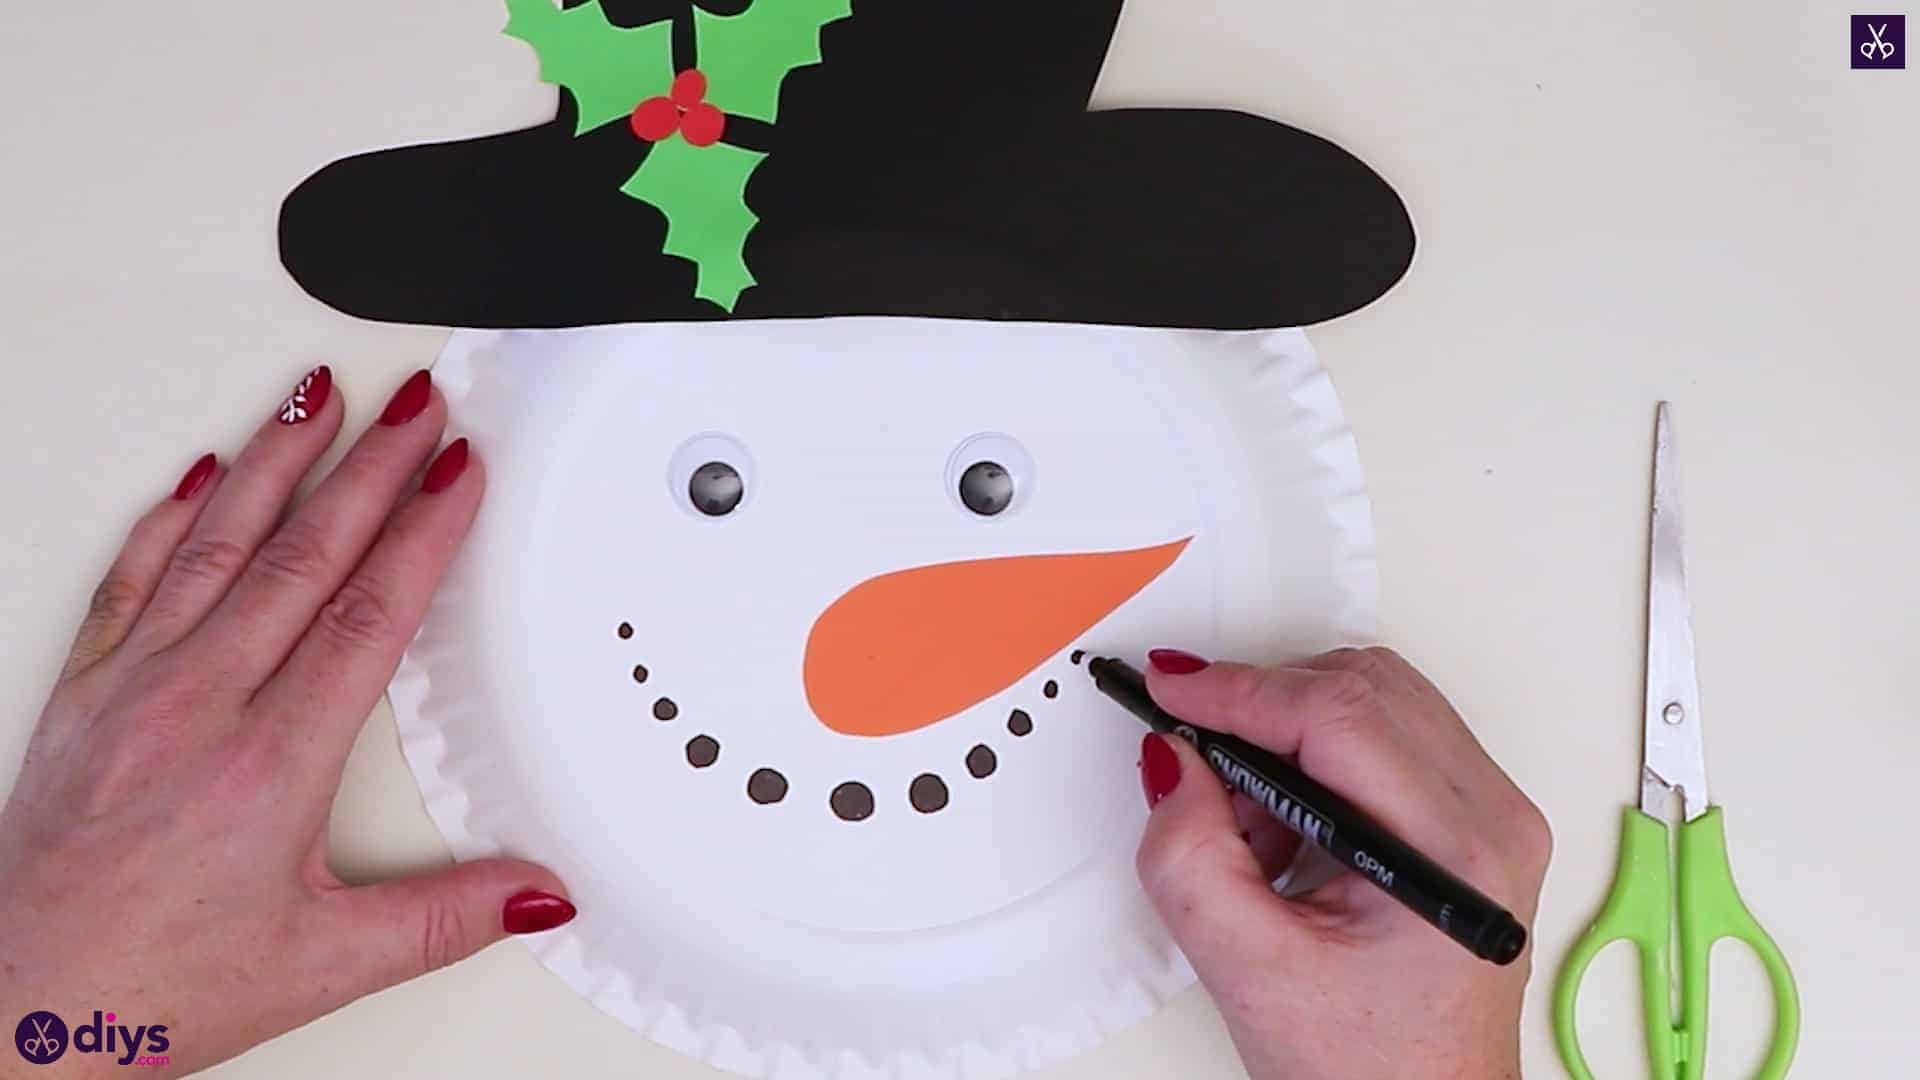
Use your black marker to give your snowman a coal smile! I created increasing and then decreasing circles in an upwards arch below my carrot nose, making them bigger and thicket in the centre and lowest point of the smile and smaller at the ends where the smile points upwards.
Youre all finished! Just in case youd like to try this project out for yourself, heres a fantastic tutorial video to help you!
The post DIY Paper Plate Snowman Head appeared first on DIYs.com.