

It's the last day of 2019. Can you believe that? I sure don't. And while I should be reflecting on the year and what I'm going to do next year - I don't have time this morning. I'll do that tomorrow once I'm finished reflecting! While there were things that happened in 2019, that I didn't like, overall, it was a good year. At least that's my shortsighted view this morning! Perhaps if I think about it some more, I might feel differently.
Anyway - I taught two private classes yesterday. So I don't really have anything to show you that I did because I didn't do a lot and my FitBit almost went into convulsions from underuse!
However, I realized that I have NOT shown you the pictures from our group exchange that we exchanged weeks ago!!!! I managed to edit three of the eight groups of blocks. The rest will come later this week.
What was the exchange? There were eight of us in the group. We each choose a theme. The more specific that theme is, the better the end result. Everyone did a great job of being specific as the blocks that came back are pretty cool. Each month we exchanged the project boxes (we had a specific rotation order) and then made a themed block for that person. In total, we each made eight blocks - one for each person in the group.
And as you're admiring these projects, keep in mind that I'm looking for a couple of participants to start up another group (using a panel as the starting point). I need people that are local to me so we can exchange the blocks in person. E-mail me if you want more details. I'm just getting that one organized, but it won't start for a wee bit.
OK - so here are three of the exchanges.
Each person should have eight blocks. The first one is Sacha's. You can see that she only has seven. I think it was her own block that was missing. Can you guess the theme?? Yep - it was unicorns. Some very colorful unicorns!
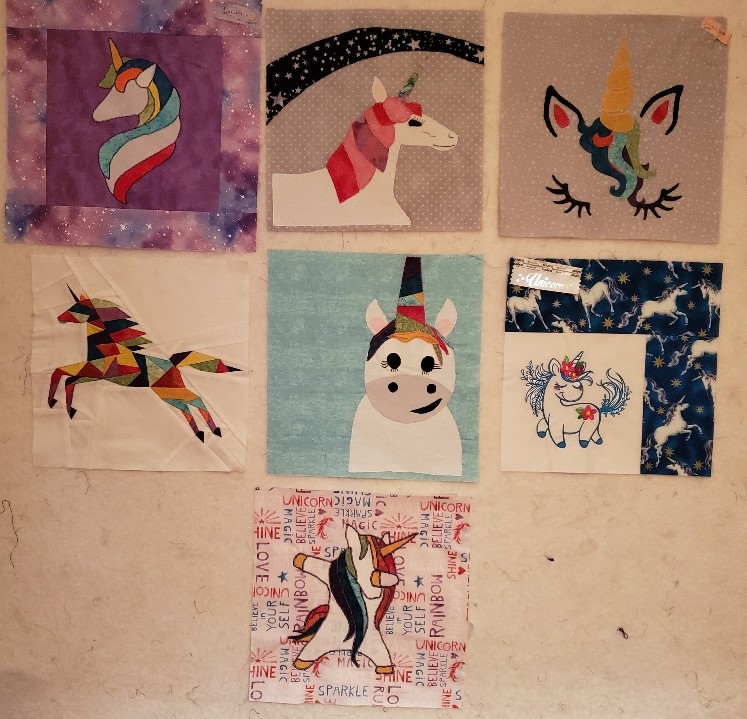 |
| Sacha's unicorn blocks |
I'll show you the one that I made for each person. I had several pieces of unicorn fabric that I wanted to use but the scale was large and I didn't want to cut it up or cut the fabric as least as possible. I found this adorable machine embroidered unicorn, so I made that and then to make the block the required size, I added the unicorn fabric on two sides.
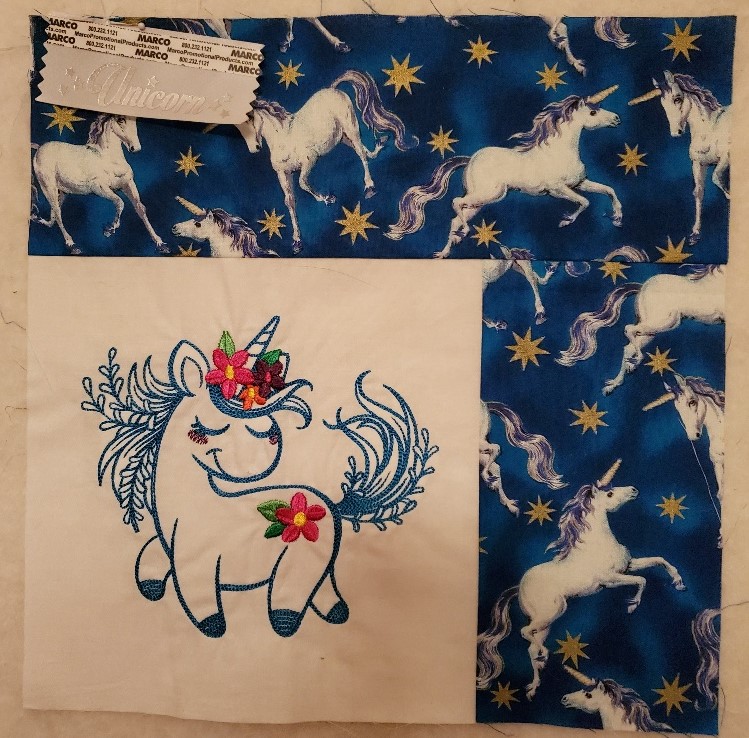 |
| The block that I made for Sacha |
When I was at some quilt show, they were selling these little tags. It has sticky tape on the top and the idea is that you attach it to your name badge of whatever show I was at. I didn't want it for my name badge, I bought it specifically for Sacha!!
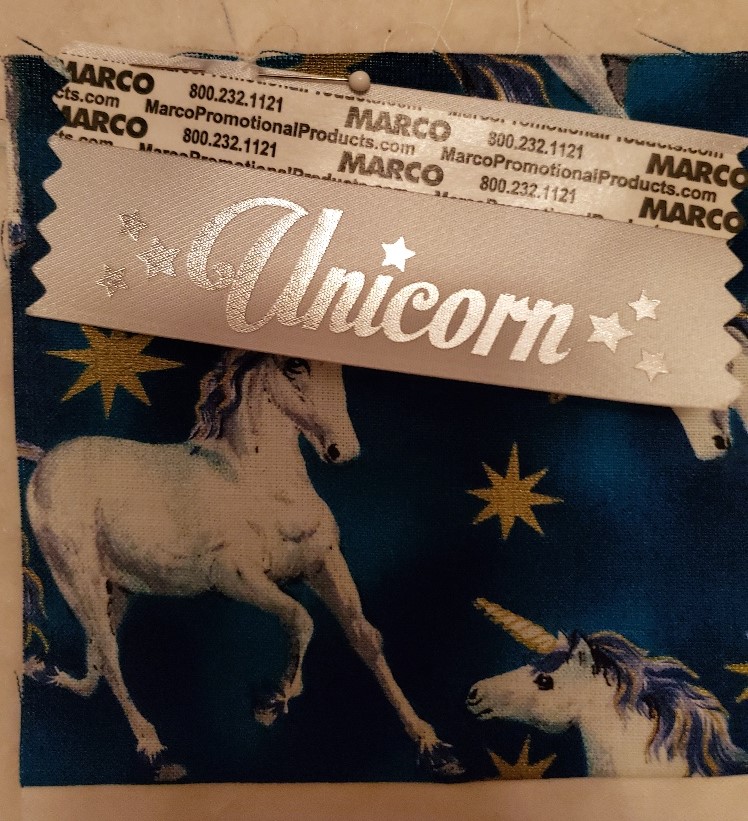 |
| A unicorn tag |
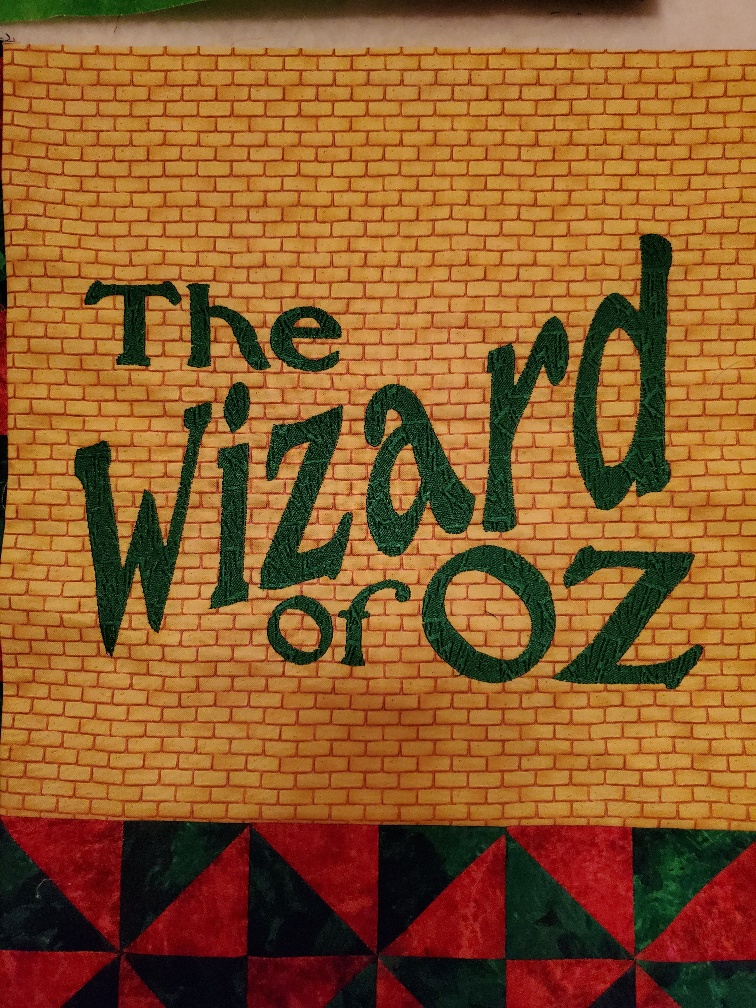
Next up was Ronda and I think it's easy to see that her theme was The Wizard of Oz. Yep - she does like other things than sports! Hmmm - she's also missing a block - I'm not sure who didn't complete their block.
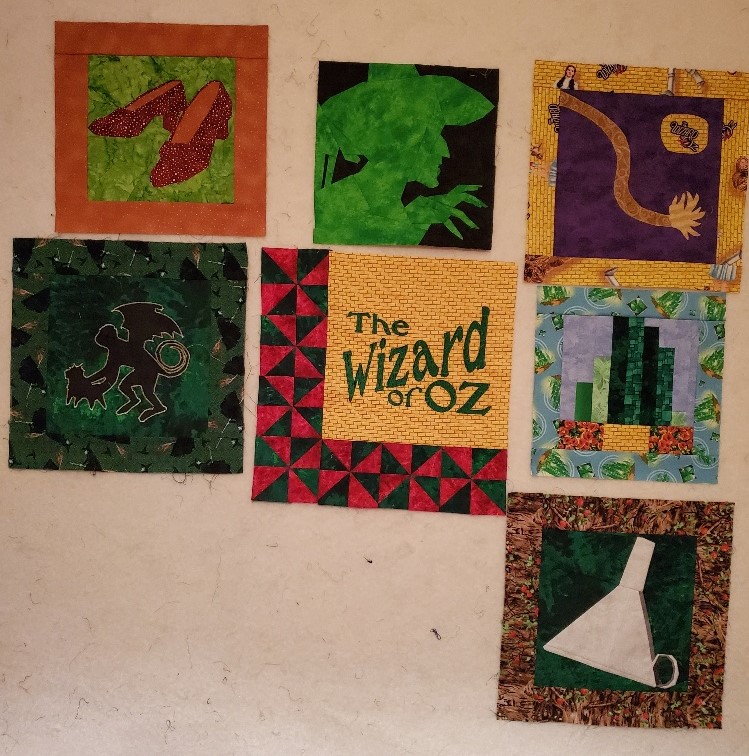 |
| Ronda's The Wizard of Oz blocks |
You got to love friends that ask things of you that you have no idea how to do! But it pushes you to learn new things. Ronda wanted the name of the movie on her block and could I do that on the embroidery machine? Hmm - maybe. So we searched the internet for the font and can you believe we found one, but I don't think the guy ever got back to us. I found a similar font in my embroidery software and used that to somewhat get the same effect as the movie title. It's not perfect, but it works. To really get the effect of the swirling letters, I should have brought each letter into the edit screen individually. I brought in each word so I was limited in how I could manipulate things.
 |
| The Wizard of Oz machine embroidered title |
The fill pattern on the lettering is lightning bolts to help reflect the storm! And the pinwheels on that block represent the tornado.
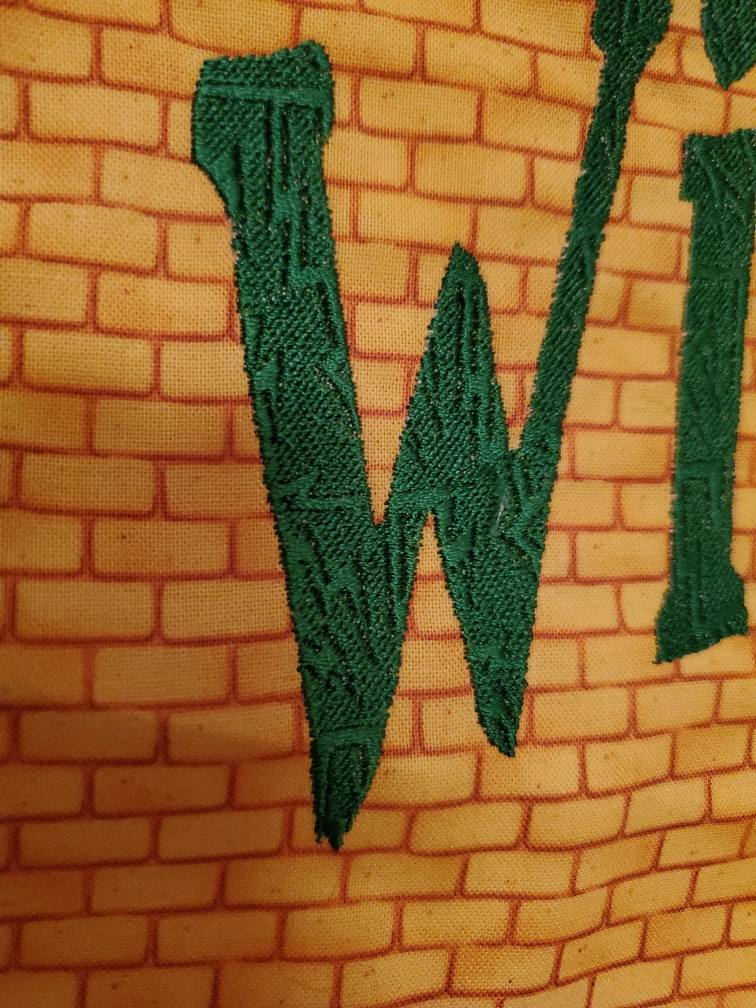 |
| Lightning bolt fill pattern |
However, that was NOT the block that I did for her. That was a bonus. I did the tin man's hat - it was paper pieced.
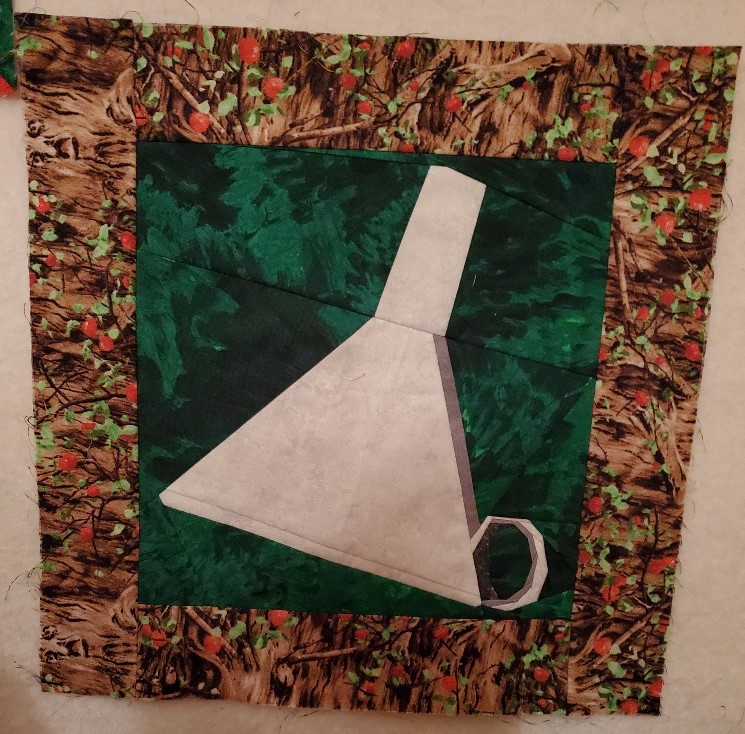 |
| My paper pieced block for The Wizard of Oz |
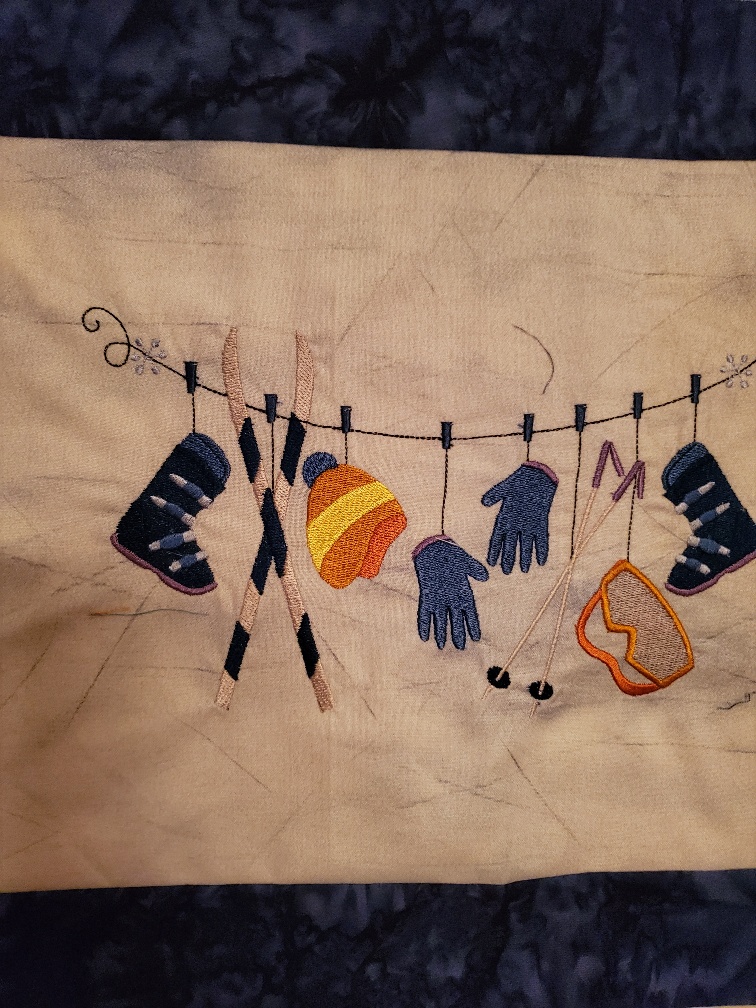
The next one is Susan's. Her theme was winter. AHA - she has eight blocks! I think her block was the center one.
 |
| Susan's winter-themed blocks |
Ronda really wanted to make a machine embroidered block so I helped her with this block. She did all the thread changes and now she does her own machine embroidery!! On her own - at her house!!!
 |
| Ronda's machine embroidered block |
I made an appliqued snowflake. While the block looks simple, I finished all the edges with a satin stitch and there was a LOT of curves to go around.
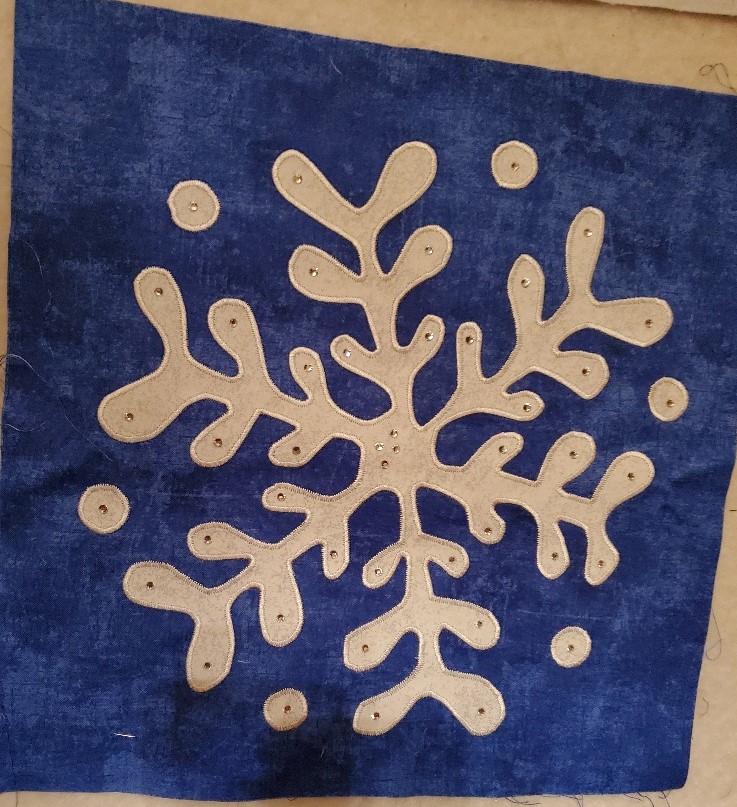 |
| My appliqued snowflake block |
Then I put crystals on the block - just because. Doing that satin stitch is a breeze on my sewing machine with the sensor foot that raises ever so slightly to do the pivoting around the corners.
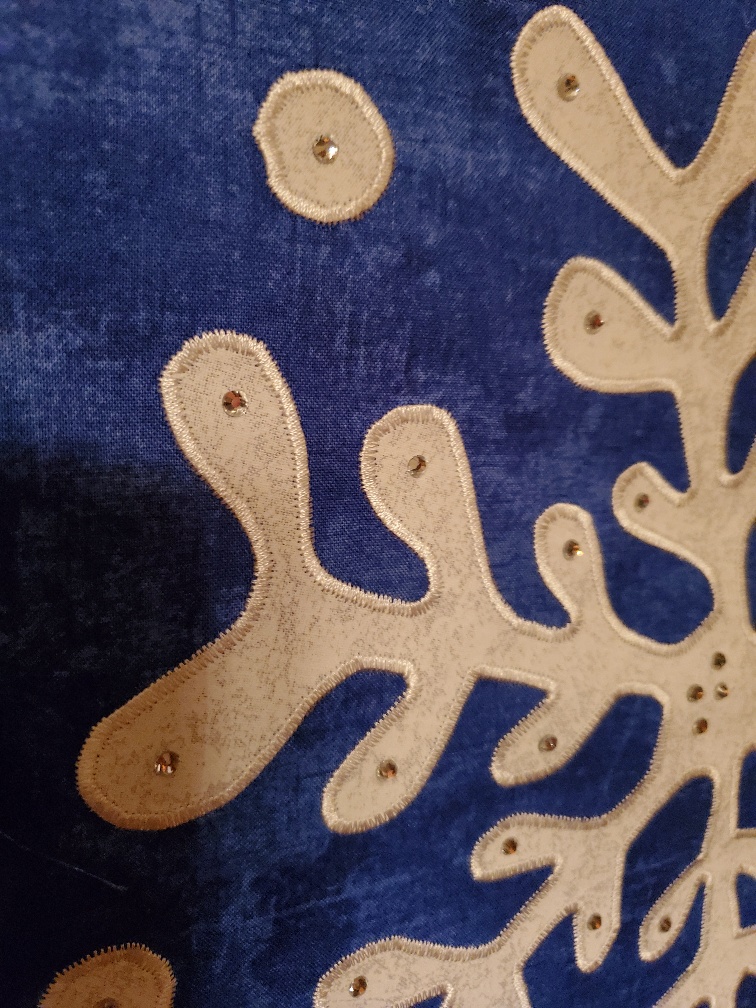 |
| Satin stitch and crystals |
One of the things we chatted about yesterday was that is anything easy? And should you tell your students that things are easy? I say it all the time and this fellow (yes - one of the classes was a husband and wife team), says when he taught that he never said things were easy. I'm going to qualify my statement - if you have the right tools and you know how, EVERYTHING IS EASY.
That's it for today. There are FIVE more groups of blocks to show you. But I have paperwork, sample making, and another private class to teach today. I'd better get the day started. It's supposed to be a UFO day today but I'll see how that goes once I'm back from walking the girls. I might switch direction for a wee bit.
On that note, have an awesome day!!!!
Ciao!!!